
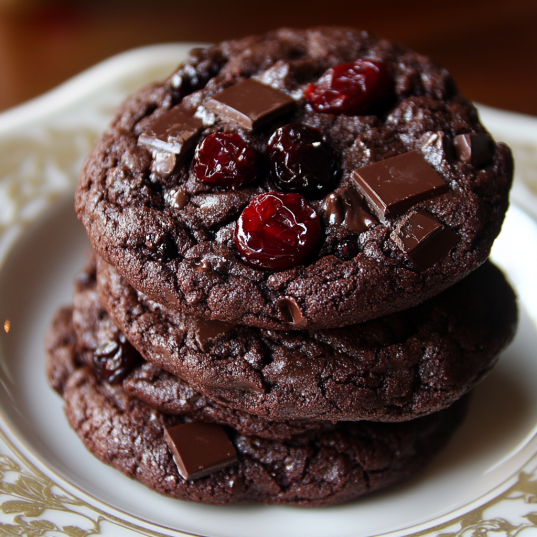
Love brownies, cookies, and the luscious flavors of Black Forest desserts? These No Flour Black Forest Brownie Cookies bring it all together! Perfectly fudgy, with chunks of dark chocolate and sweet cherries, this recipe is gluten-free and ideal for chocolate lovers everywhere.
Ingredients
- 2 1/2 cups powdered sugar
- 3/4 cup unsweetened cocoa powder
- 1/4 teaspoon salt
- 3 large egg whites
- 1 teaspoon vanilla extract
- 1/2 cup dark chocolate chunks
- 1/2 cup dried cherries (or fresh cherries, pitted and chopped)
Equipment
- Mixing bowl
- Whisk
- Baking sheet
- Parchment paper
- Cooling rack
Instructions
Step 1: Preheat and Prepare
- Preheat your oven to 350°F (175°C). Line a baking sheet with parchment paper.
Step 2: Mix the Dry Ingredients
- In a mixing bowl, whisk together the powdered sugar, cocoa powder, and salt until well combined.
Step 3: Add Wet Ingredients
- Gradually add the egg whites and vanilla extract to the dry mixture. Stir until a thick, glossy batter forms.
Step 4: Fold in the Add-Ins
- Gently fold in the dark chocolate chunks and cherries.
Step 5: Scoop and Bake
- Scoop tablespoon-sized portions of the batter onto the prepared baking sheet, spacing them about 2 inches apart.
- Bake for 12-15 minutes, or until the cookies are set on the edges but slightly soft in the center.
Step 6: Cool and Serve
- Allow the cookies to cool on the baking sheet for 5 minutes, then transfer to a cooling rack to cool completely.
Tips
- For extra richness, sprinkle a pinch of sea salt on top before baking.
- If using fresh cherries, pat them dry to prevent excess moisture in the batter.
- Store cookies in an airtight container for up to 3 days.
These No Flour Black Forest Brownie Cookies combine the intense chocolatey goodness of brownies with the fruity delight of cherries, all in a gluten-free format. Whether you’re baking for a special occasion or a midweek treat, this easy recipe will become a go-to favorite. Try it out, and enjoy every bite of fudgy, cherry-filled bliss!
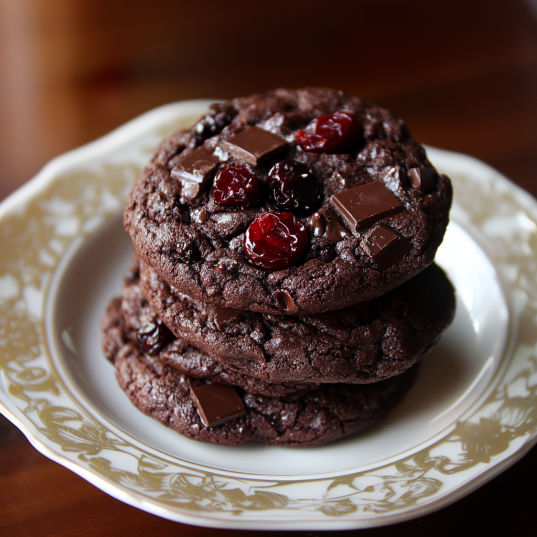
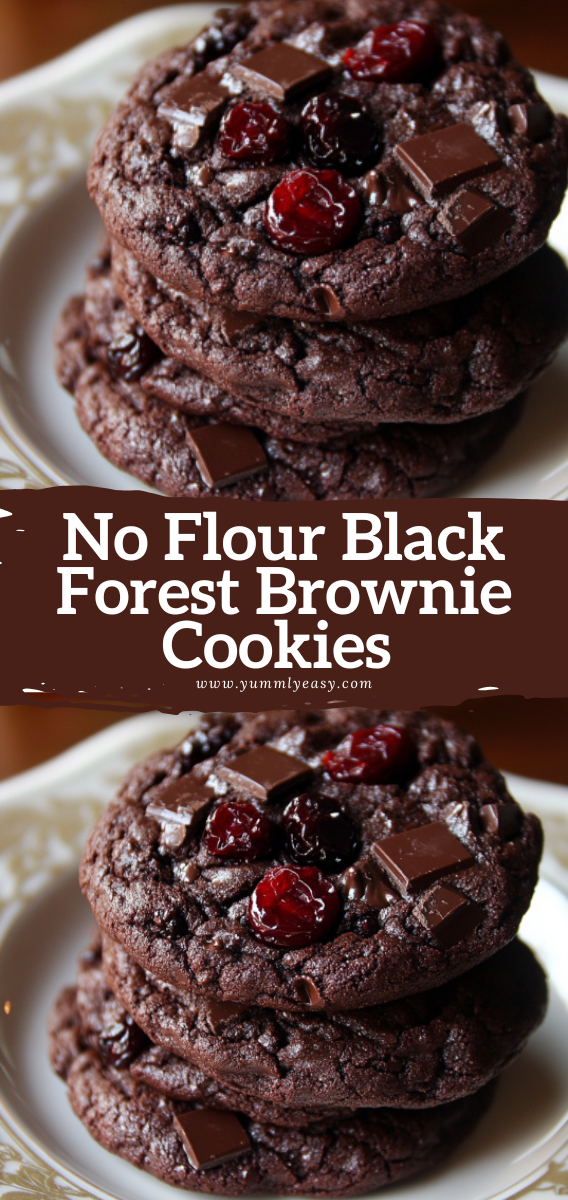
No Flour Black Forest Brownie Cookies
Indulge in the decadence of these No Flour Black Forest Brownie Cookies! Rich, chocolatey, and bursting with cherries, these gluten-free treats are irresistibly good.
Ingredients
Equipment
Method
- Step 1: Preheat and Prepare
- Preheat your oven to 350°F (175°C). Line a baking sheet with parchment paper.
- Step 2: Mix the Dry Ingredients
- In a mixing bowl, whisk together the powdered sugar, cocoa powder, and salt until well combined.
- Step 3: Add Wet Ingredients
- Gradually add the egg whites and vanilla extract to the dry mixture. Stir until a thick, glossy batter forms.
- Step 4: Fold in the Add-Ins
- Gently fold in the dark chocolate chunks and cherries.
- Step 5: Scoop and Bake
- Scoop tablespoon-sized portions of the batter onto the prepared baking sheet, spacing them about 2 inches apart.
- Bake for 12-15 minutes, or until the cookies are set on the edges but slightly soft in the center.
- Step 6: Cool and Serve
- Allow the cookies to cool on the baking sheet for 5 minutes, then transfer to a cooling rack to cool completely.
Leave a Reply