
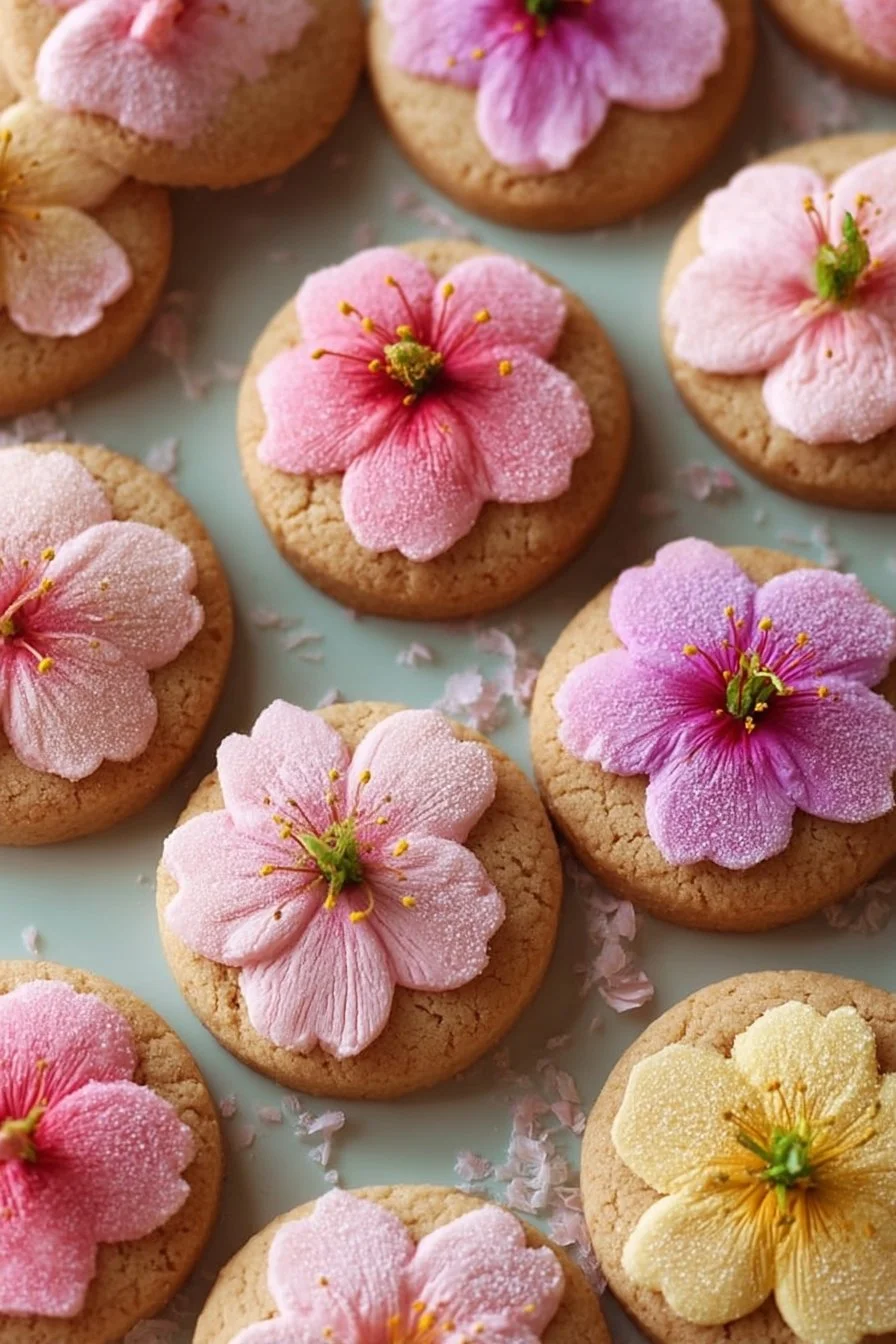
What are Spring Blossom Cookies?
So, you might be wondering, what’s the story behind the name “Spring Blossom Cookies”? Well, these treats are named for their vibrant colors and floral motifs—capturing the spirit of blooming flowers that epitomize the spring season. Isn’t it delightful to think that you’re actually baking a little piece of the season? I mean, who wouldn’t want a cookie that looks like a flower? It’s almost as if your oven has transformed into a garden of buttery goodness! Remember the old saying, “The way to a man’s heart is through his stomach”? Well, I’d like to think that these cookies are the perfect way to win over anyone’s heart (or stomach!) this spring. So, gather your ingredients and get ready to impress your friends and family!
Why You’ll Love Spring Blossom Cookies
These Spring Blossom Cookies tick all the boxes for what makes a dessert truly stand out. First, they are not only visually appealing but full of flavor—the subtle scent of vanilla combined with the sweetness of frosting creates a mouthwatering experience. Second, making these cookies at home is budget-friendly compared to buying gourmet cookies while giving you the chance to customize them however you like! Lastly, the flowers on these cookies can be decorated in any hue, or even with different flavors. If you love classic butter cookies, you’ll appreciate how these work well with vibrant colors and designs. So why not give these lovely little sweets a try at your next gathering?
How to Make Spring Blossom Cookies
Quick Overview
Spring Blossom Cookies are not only easy to make but also absolutely scrumptious. With a preparation time of just 20 minutes and about 10 to 15 minutes of baking, you’ll be enjoying these delightful cookies in no time. The simplicity of the recipe makes it a perfect activity for kids and adults alike, while the beautiful designs will dazzle anyone who sees them!
Key Ingredients for Spring Blossom Cookies
Here’s what you’ll need to craft your own lovely batch of Spring Blossom Cookies:
- 1 cup unsalted butter, softened
- 1 cup granulated sugar
- 1 large egg
- 2 teaspoons vanilla extract
- 2 ½ cups all-purpose flour
- 1 teaspoon baking powder
- ½ teaspoon salt
- Food coloring (various colors for decoration)
- Royal icing (for decorating)
Step-by-Step Instructions
- Preheat the Oven: Begin by preheating your oven to 350°F (175°C). Line your baking sheets with parchment paper to prevent sticking.
- Cream the Butter and Sugar: In a large mixing bowl, cream together the softened butter and granulated sugar until light and fluffy, about 2–3 minutes.
- Add Egg and Vanilla: Beat in the egg and vanilla extract until well combined.
- Mix Dry Ingredients: In another bowl, whisk together the flour, baking powder, and salt.
- Combine Mixtures: Gradually add the dry ingredients to the wet mixture, mixing until just combined. Be careful not to overmix!
- Divide and Color: Divide the cookie dough into separate bowls, depending on how many colors you want to create. Add a few drops of food coloring into each bowl and mix until you achieve your desired color.
- Shape the Cookies: Roll the colored doughs into small balls or use cookie cutters to create flower shapes.
- Bake: Place the cookies on the prepared baking sheets and bake for 10–15 minutes or until the edges are golden.
- Decorate: Allow the cookies to cool before decorating them with royal icing to create flowers or whatever design you fancy.
What to Serve Spring Blossom Cookies With
These delightful cookies are perfect for serving alongside a refreshing glass of lemonade or a fragrant chamomile tea, which complements their sweet flavors beautifully. Add a small fruit platter or some mini cupcakes to create a fun dessert table that will impress your guests. The lightness of these cookies makes them a great addition to any springtime gathering, ensuring that everyone leaves with smiles on their faces.
Top Tips for Perfecting Spring Blossom Cookies
- Chill the Dough: If you find the dough too soft to handle, chill it in the refrigerator for about 30 minutes. This will make it easier to shape the cookies.
- Experiment with Flavors: While vanilla is classic, don’t hesitate to experiment with almond extract or lemon zest for a refreshing twist.
- Decorating Tools: Invest in some piping bags and tips for decorative icing to elevate the presentation of your cookies eye-catching.
- Baking Time: Watch the cookies closely; even a minute too long can make a difference in their texture. You want them to be slightly soft in the center when you remove them from the oven.
Storing and Reheating Tips
To keep your Spring Blossom Cookies fresh, store them in an airtight container at room temperature for up to five days. If you want to keep them longer, you can freeze them! Just layer them between parchment paper in an airtight container, and they can last for up to three months. To enjoy, simply take them out, thaw them at room temperature, and they will taste as good as freshly baked. No need to reheat!
Spring Blossom Cookies are a celebration of flavor, color, and the joy of baking. Whether you’re a seasoned baker or a curious first-timer, these cookies welcome you into the world of spring delights! Give them a try—you won’t be disappointed!
Spring Blossom Cookies
Ingredients
Method
- Preheat your oven to 350°F (175°C) and line your baking sheets with parchment paper.
- In a large mixing bowl, cream together the softened butter and granulated sugar until light and fluffy, about 2–3 minutes.
- Beat in the egg and vanilla extract until well combined.
- In another bowl, whisk together the flour, baking powder, and salt.
- Gradually add the dry ingredients to the wet mixture, mixing until just combined. Be careful not to overmix!
- Divide the cookie dough into separate bowls, depending on how many colors you want to create. Add a few drops of food coloring into each bowl and mix until you achieve your desired color.
- Roll the colored doughs into small balls or use cookie cutters to create flower shapes.
- Place the cookies on the prepared baking sheets and bake for 10–15 minutes or until the edges are golden.
- Allow the cookies to cool before decorating them with royal icing to create flowers or whatever design you fancy.
Leave a Reply