
What are Simple No-Bake Oreo Cheesecake Bars?
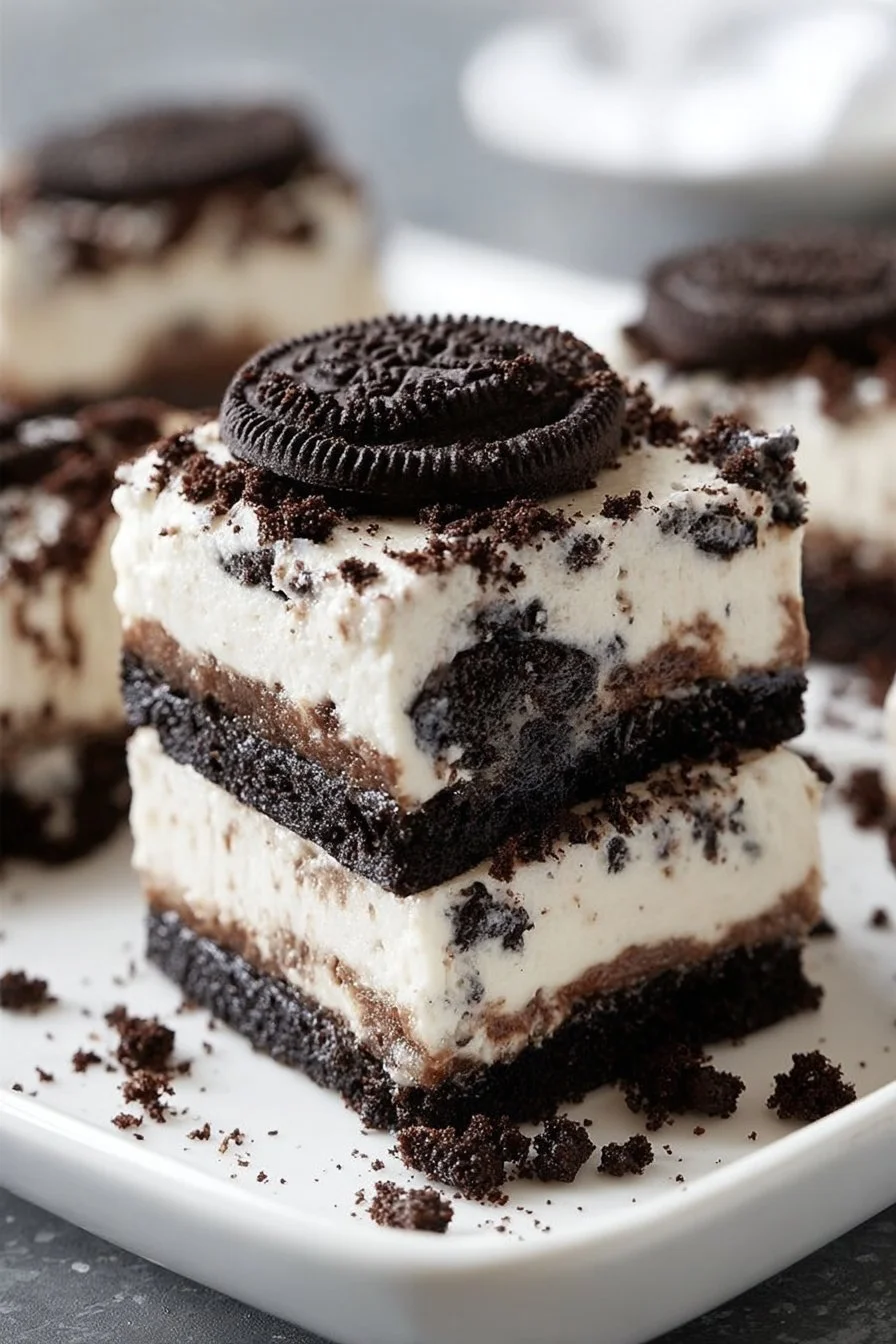
So, you might be wondering, “What exactly are these Simple No-Bake Oreo Cheesecake Bars?” Well, they’re a delightful dessert that’s essentially an Oreo lover’s paradise! These bars layer creamy cheesecake filling over a crunchy Oreo crust and are topped with even more crumbled Oreos. They’re called “no-bake” because, you guessed it, there’s no oven required—just some mixing, chilling, and voila!
They’re perfect for hot summer months when you might not want to heat up your kitchen. Plus, isn’t it true that the way to a person’s heart is through their sweet tooth? With these bars, you might just win someone over in no time! So why not give this easy recipe a try and impress your friends, family—or that special someone—today?
Why You’ll Love This Simple No-Bake Oreo Cheesecake Bars
You’ll love the Simple No-Bake Oreo Cheesecake Bars for so many reasons! First of all, they are incredibly easy to make; all you need are a few simple ingredients, and you won’t even need to turn on an oven. This dessert is not just a budget-friendly option, but it also allows you to serve up decadence without breaking the bank.
Imagine biting into a creamy cheesecake filled with Oreo goodness—your taste buds are in for a treat! You can also play with toppings, adding whipped cream, chocolate drizzle, or even a sprinkle of crushed Oreos on top. If you want a slightly different route, check out my No-Bake Peanut Butter Pie; it’s another delicious option that’s sure to please. The bottom line? Make these bars at home, and you’ll be the star of your next gathering!
How to Make Simple No-Bake Oreo Cheesecake Bars
Quick Overview
The beauty of these bars lies in their simplicity and deliciousness. They require minimal prep time—around 20 minutes—and need to chill for just a couple of hours. They’re creamy, crunchy, and oh-so-satisfying, making them a perfect dessert to whip up at a moment’s notice for a family dessert night or a last-minute gathering.
Key Ingredients for Simple No-Bake Oreo Cheesecake Bars
Here’s what you’ll need to make these delightful bars:
- 16 Oreo cookies (plus more for topping)
- 4 tablespoons unsalted butter, melted
- 8 oz cream cheese, softened
- 1 cup powdered sugar
- 1 teaspoon vanilla extract
- 1 cup whipped cream (or 1 cup heavy cream whipped to soft peaks)
Step-by-Step Instructions
- Prepare the Crust:
- Start by crushing the 16 Oreo cookies into fine crumbs. You can do this using a food processor or by placing them in a bag and rolling over them with a rolling pin.
- In a bowl, mix the cookie crumbs with melted butter until well combined.
- Press the mixture firmly into the bottom of a parchment-lined 8×8-inch baking dish to form your crust.
- Make the Cheesecake Filling:
- In a mixing bowl, beat the softened cream cheese until creamy and smooth.
- Gradually add in the powdered sugar and vanilla extract, mixing until combined.
- Gently fold in the whipped cream to create a light, fluffy filling.
- Assemble the Bars:
- Spread the cheesecake filling evenly over the crust.
- Crumble additional Oreos on top for a delightful crunch and visual appeal.
- Chill:
- Cover the dish with plastic wrap and refrigerate for at least 2-3 hours or until set.
- Serve:
- Once chilled, lift the bars out of the dish using the parchment paper and cut them into squares.
What to Serve Simple No-Bake Oreo Cheesecake Bars With
These Oreo cheesecake bars are delicious on their own but can also be complemented with various sides and beverages. Consider serving them with a scoop of vanilla ice cream for an indulgent treat or fresh berries for a fruity contrast. A drizzle of chocolate sauce can elevate the experience, and a cup of coffee or milk pairs wonderfully with the creamy, sweet dessert.
Top Tips for Perfecting Simple No-Bake Oreo Cheesecake Bars
- Use Room Temperature Cream Cheese: Ensure your cream cheese is fully softened so that it blends smoothly into the filling without lumps.
- Fold Gently: When incorporating whipped cream into the mixture, fold gently to maintain the airy texture.
- Chill Time is Key: Give the bars enough time to chill; they taste best when well-set. If you’re in a rush, put them in the freezer for a short period, but keep an eye on them!
Storing and Reheating Tips
To store your Simple No-Bake Oreo Cheesecake Bars, keep them in an airtight container in the refrigerator. They’re best consumed within 3-4 days for freshness. If you have leftovers, you can also freeze them for up to 2 months. To enjoy again, simply thaw them in the refrigerator overnight before serving. Avoid reheating, as these bars are meant to be enjoyed cold!
There you have it! Your complete guide to making Simple No-Bake Oreo Cheesecake Bars. They are quick, easy, and absolutely delicious. Give them a try, and I guarantee you’ll keep coming back for more!
Simple No-Bake Oreo Cheesecake Bars
Ingredients
Method
- Crush the 16 Oreo cookies into fine crumbs using a food processor or by rolling over them with a rolling pin in a bag.
- Mix the cookie crumbs with melted butter until well combined.
- Press the mixture firmly into the bottom of a parchment-lined 8x8-inch baking dish to form the crust.
- In a mixing bowl, beat the softened cream cheese until creamy and smooth.
- Gradually add in the powdered sugar and vanilla extract, mixing until combined.
- Gently fold in the whipped cream to create a light, fluffy filling.
- Spread the cheesecake filling evenly over the crust.
- Crumble additional Oreos on top for a delightful crunch and visual appeal.
- Cover the dish with plastic wrap and refrigerate for at least 2-3 hours or until set.
- Once chilled, lift the bars out of the dish using the parchment paper and cut them into squares.
Leave a Reply