
What is Oreo Dump Cake?
Have you ever wondered how a dessert could be so easy yet so satisfying? Well, let’s delve into the whimsical world of Oreo Dump Cake! It’s not just a cake; it’s a dessert hack that requires minimal effort while delivering maximum enjoyment—perfect for those bustling weeknights or carefree family gatherings. Honestly, where did the name come from? I like to think it’s because of how effortlessly all the delightful ingredients just “dump” together. After all, they say the way to a man’s heart is through his stomach, but I believe the path to everyone’s heart is paved with delicious, no-fuss desserts! So why not give this a try today?
Why You’ll Love This Oreo Dump Cake
You’ll absolutely adore this Oreo Dump Cake for three amazing reasons. First, its mouthwatering chocolate flavor is complemented by crunchy, creamy Oreo pieces, creating a delightful contrast in every bite. The moistness of the cake with the earthy cocoa flavors delivers pure bliss to your taste buds, making it a standout dish at any family gathering.
Second, cooking at home with this simple recipe is incredibly cost-effective. Why spend a fortune on fancy desserts when you can whip this up in no time? Save money without sacrificing flavor!
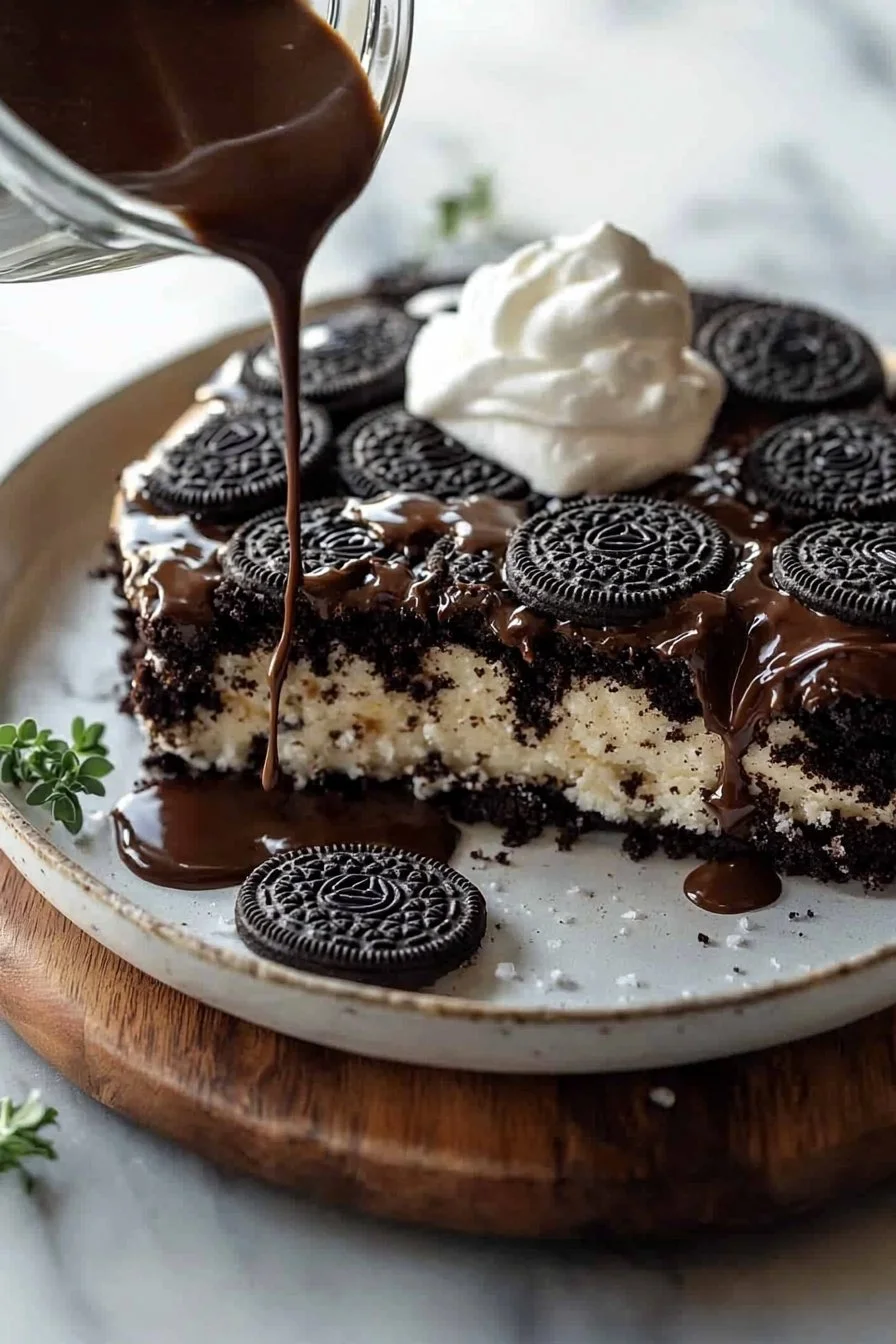
Finally, you can top your Oreo Dump Cake with various delightful toppings. Think whipped cream, chocolate drizzle, or even crushed nuts—a sensory extravaganza! This cake is every bit as delightful as a classic chocolate fudge cake, but with added crunch and texture that will keep everyone coming back for more. So why not invite a few family members over and surprise them with this luscious dessert?
How to Make Oreo Dump Cake
Quick Overview
The beauty of the Oreo Dump Cake lies in its simplicity—just mix, dump, and bake! The texture is moist and fudgy, while the flavor offers a wonderful harmony of chocolate and cream. Preparation time is only about 15 minutes, and before you know it, your kitchen will be filled with delightful aromas—a perfect treat for a cozy gathering!
Ingredients
- 1 package Oreo cookies
- 1 box chocolate cake mix
- 1/2 cup butter, melted
- 2 cups milk
- 1 cup whipped cream (optional for topping)
Step-by-Step Instructions
- Preheat the Oven: Start by preheating your oven to 350°F (175°C) so it’s nicely warmed up when you’re ready to bake.
- Prepare the Dish: Grease a 9×13-inch baking dish to prevent the cake from sticking.
- Crush the Oreos: Take half of the package of Oreo cookies and crush them coarsely. You want to keep some larger chunks for that delightful crunch!
- Combine Ingredients: In a large bowl, combine the chocolate cake mix, melted butter, and milk. Mix well until smooth and creamy.
- Layer the Cake: Pour the batter into the greased baking dish. Then, sprinkle the crushed Oreos evenly over the top.
- Bake: Bake in the preheated oven for about 30–35 minutes, or until a toothpick inserted in the center comes out clean. The top should be slightly crispy while the inside is gooey and delicious.
- Cool and Serve: Once done, let the cake cool for about 10 minutes. Top with whipped cream for an extra layer of indulgence. Enjoy!
Top Tips for Perfecting Oreo Dump Cake
Here are a few professional tips to ensure your Oreo Dump Cake is perfect every time:
- Substitutions: If you have specific dietary needs, consider using a gluten-free chocolate cake mix or a vegan alternative. Just ensure all ingredients align with halal guidelines.
- Timing: Keep an eye on your cake during the last few minutes of baking. Oven temperatures may vary; you want to avoid over-baking, which can lead to a drier texture.
- Common Mistakes: Make sure to crush the Oreos coarsely rather than finely; you want to maintain that delightful crunch, which adds texture to the cake!
Storing and Reheating Tips
To keep your Oreo Dump Cake fresh, store it in an airtight container in the refrigerator. It can last for up to five days, making it an excellent option for meal prep. If you’d like to enjoy your cake at a later time, you can freeze individual servings for up to three months. To reheat, simply pop it in the microwave for about 30 seconds to 1 minute, or warm it in an oven set to low heat, ensuring you don’t lose that wonderful gooey texture.
This Oreo Dump Cake is an easy, delicious dessert that everyone can enjoy. With its enticing chocolate flavor, delightful crunch, and simplicity of preparation, it is the perfect treat for any occasion. So why wait? Gather your ingredients, and let’s create some delicious memories with this delightful cake!

Oreo Dump Cake
Ingredients
Method
- Preheat your oven to 350°F (175°C).
- Grease a 9x13-inch baking dish.
- Crush half of the package of Oreo cookies coarsely.
- In a large bowl, combine the chocolate cake mix, melted butter, and milk. Mix until smooth and creamy.
- Pour the batter into the greased baking dish and sprinkle the crushed Oreos on top.
- Bake in the preheated oven for about 30–35 minutes, or until a toothpick inserted in the center comes out clean.
- Let the cake cool for about 10 minutes before serving.
- Top with whipped cream if desired.
Leave a Reply