
What is Irresistible Classic Homemade Apple Pie?
Truly, the Irresistible Classic Homemade Apple Pie is a dessert with character. But have you ever wondered why it’s called apple pie? Is it because the apples are having a culinary party, or do they just really love to hang out in buttery crusts? Whatever the case, one thing is for sure: the way to a man’s heart is through his stomach, especially when it comes to pie! Picture this: you’re gathered with family on a chilly evening, your loved ones enjoying that first, blissful slice. There may be crumbs and laughter, but this pie is what steals the show! So, are you ready to join the pie revolution?
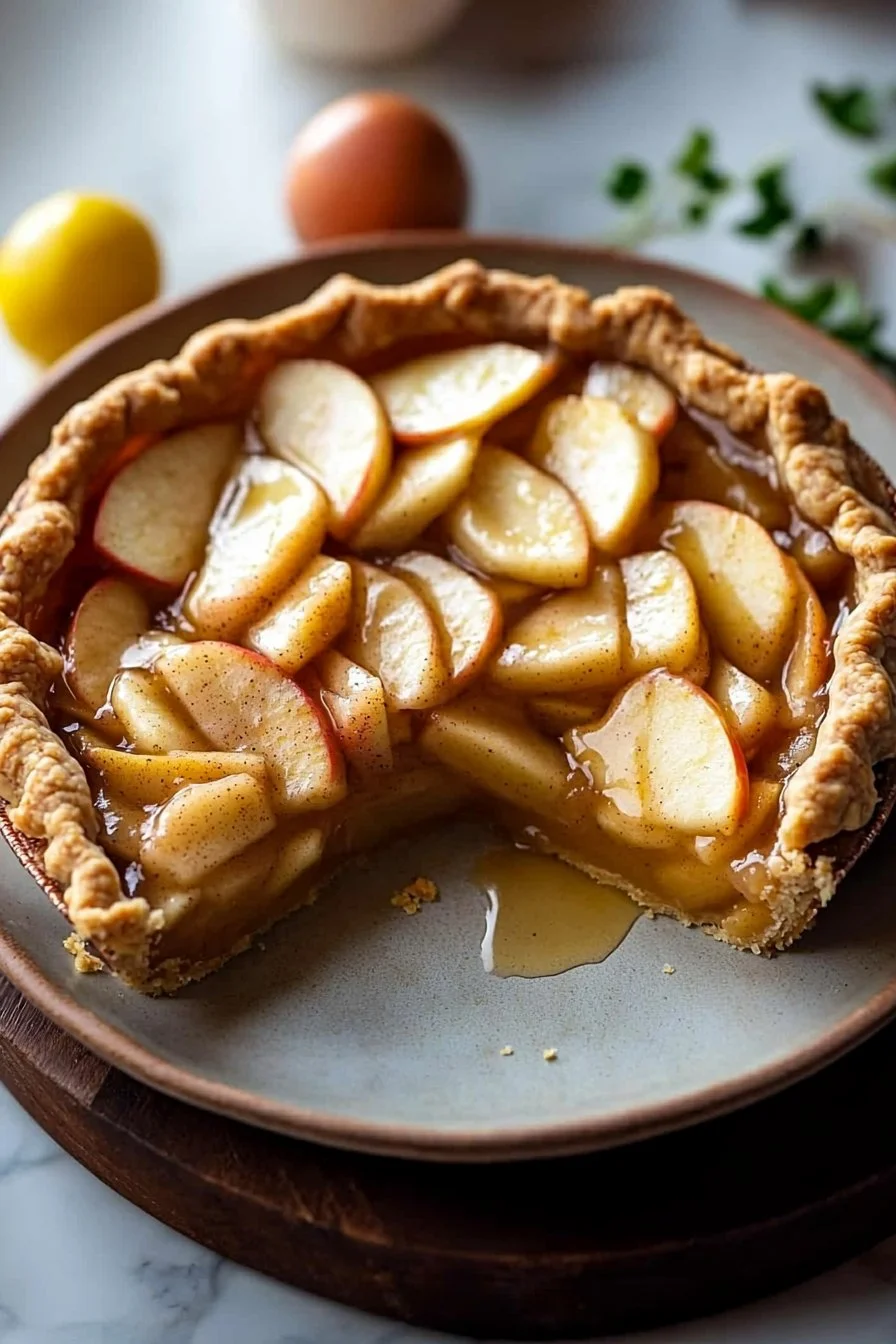
Why You’ll Love This Irresistible Classic Homemade Apple Pie
This iconic dessert will undoubtedly be the star of your next meal! The main highlight of this Irresistible Classic Homemade Apple Pie is its moist, cinnamon-spiced apple filling nestled inside a perfectly flaky crust. It’s a comforting and nostalgic treat that embodies the experience of home cooking. Plus, making this pie is a cost-effective alternative to store-bought desserts, and you often get way more satisfaction from your homemade efforts!
What’s more, the apple pie is endlessly customizable! Drizzle with warm caramel sauce, top with whipped cream, or even scoop on a generous dollop of ice cream for an extra flavor explosion. Comparatively, while chocolate cakes are often rich and can feel heavy, apple pie provides that delightful balance of sweetness and tartness, leaving you wanting just one more slice! So, why not roll up your sleeves and make this gorgeous dessert today?
How to Make Irresistible Classic Homemade Apple Pie
Quick Overview
Making the Irresistible Classic Homemade Apple Pie is easier than you might think! With a preparation time of about 20 minutes and a baking time of 45–50 minutes, you’ll have a warm pie ready for your family to enjoy. Experience the satisfying crunch of the crust paired with the tender, sweet apples with every slice. Let’s dive into the details!
Ingredients:
- 6 to 8 apples (Granny Smith or Honeycrisp work best)
- 3/4 cup granulated sugar
- 1 tablespoon lemon juice
- 1 teaspoon ground cinnamon
- 1/4 teaspoon nutmeg
- 2 tablespoons all-purpose flour
- 1 tablespoon butter
- 1 package refrigerated pie crusts (or homemade pie crust)
- 1 egg (for egg wash, optional)
Step-by-Step Instructions
- Preheat your oven: Start by preheating your oven to 425°F (220°C). This ensures that your pie will bake evenly and thoroughly.
- Prepare your apples: Peel, core, and thinly slice your apples. Aim for uniform slices so they cook evenly.
- Mix the filling: In a large mixing bowl, combine the sliced apples, granulated sugar, lemon juice, ground cinnamon, nutmeg, and flour. Toss gently until the apples are well coated. The flour helps to thicken the juices as the pie bakes.
- Assemble the pie: Place one pie crust in a 9-inch pie pan. Pour the apple mixture into the crust, making sure to distribute it evenly. Dot the top of the apple filling with small pieces of butter for added flavor and richness.
- Cover with the second crust: Lay the second pie crust over the apples. Either fold the edges of the top crust under the bottom crust to create a thicker crust edge or create a crimped edge with your fork for a decorative touch.
- Create slits: Cut a few slits in the top crust to allow steam to escape while baking. This also adds a lovely design!
- Optional egg wash: If you’d like, beat the egg and lightly brush it over the crust for a glossy finish.
- Bake the pie: Place your pie in the preheated oven and bake for 45-50 minutes, or until the crust is golden brown and the apple filling is bubbling.
- Cool before serving: Allow your pie to cool for at least 30 minutes before slicing. This helps the filling set and makes for cleaner slices.
Top Tips for Perfecting Irresistible Classic Homemade Apple Pie
- Apple selection: Use a mix of tart and sweet apples for the best flavor. Granny Smith and Honeycrisp are excellent choices for that perfect balance.
- Don’t skimp on spices: Ground cinnamon and nutmeg are essential for that classic warm flavor profile. Feel free to adjust to your palate!
- Use cold butter and water: If making your own pie crust, ensure the butter and water are cold to maintain the flakiness of your crust.
- Cover edges: If the edges of your pie turn brown too quickly, cover them with foil to prevent burning while the rest of the pie finishes baking.
Storing and Reheating Tips
To keep your Irresistible Classic Homemade Apple Pie fresh and delicious, store leftovers in the refrigerator for up to 5 days. Simply cover it with aluminum foil or plastic wrap to prevent drying out.
If you’d like to keep your pie for a longer time, you can freeze it before baking! Just wrap it tightly in plastic wrap, then aluminum foil for up to 3 months. When you’re ready to bake, no need to thaw—just add an extra 10-15 minutes to your baking time.
To reheat, simply place slices in a preheated oven at 350°F (175°C) for about 10-15 minutes until warmed through. This will help restore that lovely crispiness of the crust!
Now that you have everything you need to embark on your apple pie-making journey, it’s time to gather your loved ones, whip up this delightful treat, and savor the sweet moments together. Happy baking!

Irresistible Classic Homemade Apple Pie
Ingredients
Method
- Preheat your oven to 425°F (220°C).
- Peel, core, and thinly slice your apples.
- In a large mixing bowl, combine the sliced apples, sugar, lemon juice, cinnamon, nutmeg, and flour. Toss gently until the apples are well coated.
- Place one pie crust in a 9-inch pie pan, pour the apple mixture into the crust, and distribute it evenly.
- Dot the top of the filling with pieces of butter.
- Cover with the second crust, either by folding edges under or crimping them.
- Cut slits in the top crust to allow steam to escape.
- If desired, brush the crust with beaten egg for a glossy finish.
- Place the pie in the preheated oven and bake for 45-50 minutes, or until the crust is golden brown and the filling is bubbling.
- Allow the pie to cool for at least 30 minutes before slicing.
Leave a Reply