
Homemade Granola Bars: The Ultimate Bakery-Style Snack
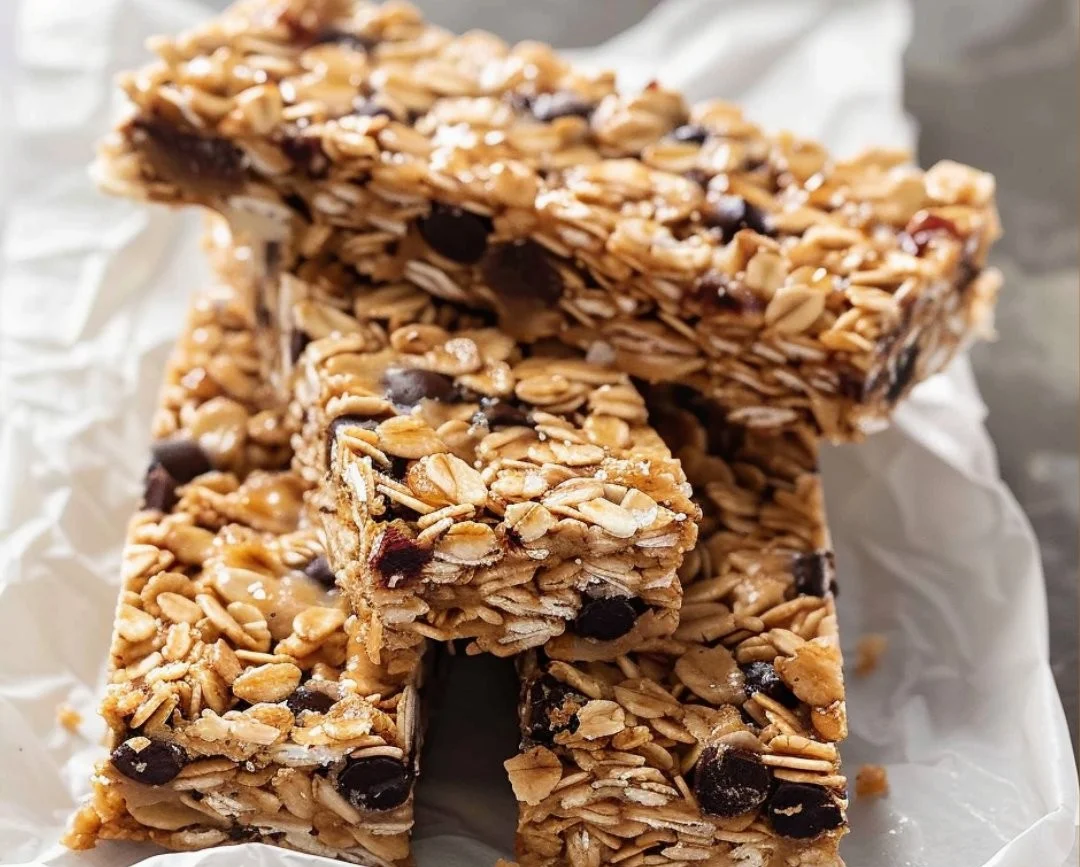
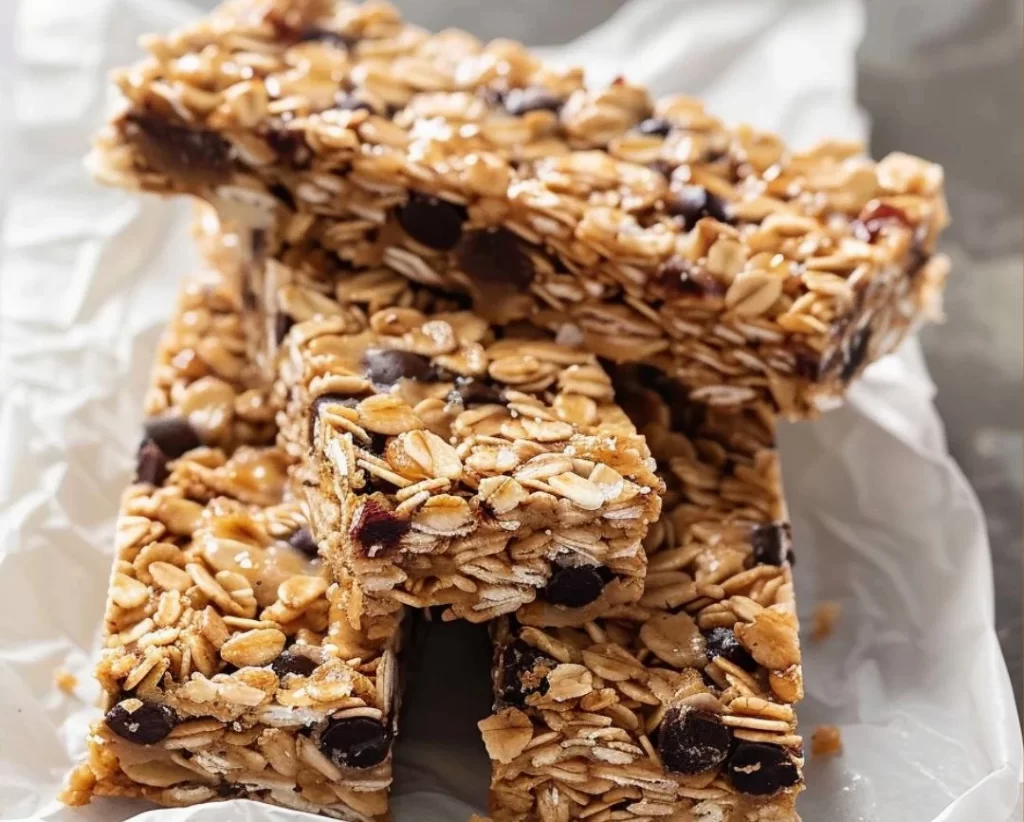
Imagine sinking your teeth into a chewy, yet slightly crunchy granola bar—one that bursts with a “Magic” melange of nutty flavors and sweet dried fruits. These Homemade Granola Bars are far more than a quick grab-and-go; they are a delightful combination of textures that bring “rustic charm” to family gatherings or cozy winter evenings.
While granola bars have evolved from simple 1960s oat mixtures into the nutrient-packed snacks we love today, making them at home is the real game-changer. Compared to store-bought versions filled with unexpected ingredients, these bars offer the same simplicity and warmth as a batch of fresh oatmeal cookies. Let’s dive into this “bakery-style,” effortless treat!
What Are Homemade Granola Bars?
What exactly makes these so special? While the name might suggest gourmet artistry, they are essentially your favorite high-quality oats and nuts pressed into a silky, “cloud-like” honey-nut butter base. It’s a snack that kids, friends, and even picky relatives will gobble up. This recipe beckons all tastebuds, so gather your ingredients and let’s whip up some “guilt-free comfort food!”
Why You’ll Love This Recipe
There are three major reasons why these will become your new favorite:
-
Totally Satisfying: They offer the perfect “Magic” balance between a crunchy nut exterior and a chewy center.
-
Budget-Friendly: Why pay premium prices at a health food store when you can create a “bakery-style” batch in your own kitchen?
-
Endless Customization: Whether you prefer dried cranberries, dark chocolate chips, or a sprinkle of seeds, the possibilities are infinite. Think of them as the more sophisticated, personal cousin to the standard trail mix bar.
How to Make Homemade Granola Bars
This recipe is foolproof, taking only about 20 minutes of preparation. The balance of flavors—from the deep nutty undertones to the sweet honey glaze—is truly a match made in heaven.
Ingredients
-
2 cups Rolled oats (for that “rustic” texture)
-
1 cup Nuts (e.g., almonds, walnuts, or pecans)
-
½ cup Honey or maple syrup
-
½ cup Nut butter (e.g., almond or peanut butter)
-
½ cup Dried fruits (e.g., cranberries, raisins, or chopped apricots)
-
½ tsp Vanilla extract
-
¼ tsp Salt
Step-by-Step Instructions
-
Preheat & Prep: Preheat your oven to 350°F. This helps the bars achieve that “bakery-style” toasted finish.
-
Mix the Dry: In a large bowl, combine the rolled oats, nuts, and salt. Stir until thoroughly mixed.
-
Blend the “Cloud” Base: In a separate bowl, whisk the honey (or maple syrup), nut butter, and vanilla until smooth and “cloud-like.”
-
Combine: Pour the wet mixture over the dry ingredients. Add your dried fruits and fold everything together until no dry spots remain.
-
The Press: Line an 8×8-inch pan with parchment paper. Pour the mixture in and press down firmly with a spatula. This is the secret to a bar that doesn’t crumble!
-
Bake to Perfection: Bake for about 20 minutes, or until the edges turn a “rustic” golden brown.
-
Cool & Slice: Let them cool in the pan for at least 10 minutes. Lift the parchment out and cut into bars of your desired size.
Top Tips for the Perfect Batch
-
The “Signature” Finish: To lean into that salty-sweet-spicy profile, finish your bars with a tiny pinch of Jalapeño Salt before pressing them into the pan. The subtle lime and heat create a brilliant contrast to the honey.
-
The “Magic Lemon” Twist: Add a teaspoon of lemon zest to the batter for a bright, “bakery-style” pop of flavor.
-
Substitutions: If you need a nut-free option, sunflower seed butter works beautifully. Just ensure your nut butter choice aligns with your dietary needs (like halal compliance).
Storing and Enjoying
To keep your bars fresh, store them in an airtight container at room temperature for up to one week. For longer storage, wrap individual bars in plastic wrap and freeze for up to three months. When you’re ready for a treat, thaw at room temperature or microwave for a few seconds to revive that soft, “cloud-like” texture.
Homemade Granola Bars
Ingredients
Method
- Preheat your oven to 350°F (175°C).
- In a large bowl, combine the rolled oats, nuts, and salt. Stir until mixed.
- In a separate bowl, mix honey (or maple syrup), nut butter, and vanilla extract until smooth.
- Pour the wet mixture into the bowl with dry ingredients, add dried fruits, and mix until combined.
- Line an 8x8 inch baking pan with parchment paper, pour in the mixture, and press down firmly.
- Place the pan in the preheated oven and bake for about 20 minutes, or until edges are golden brown.
- Allow to cool in the pan for at least 10 minutes before lifting the parchment paper out and cutting into bars.
Leave a Reply