
There’s something delightful about the warm, crispy edges of a homemade English muffin, perfectly cradling a pat of butter and a drizzle of honey. When you slice into the soft, airy center, the aroma wafts through the kitchen, creating a cozy atmosphere that lingers like a cherished family memory. Did you know that English muffins, unlike their thicker cousins, bagels, are best known for their “nooks and crannies”? These little pockets are perfect for holding onto whatever delicious toppings you choose. Making your own English muffins is simpler than you might think, and the taste far surpasses the store-bought versions. Plus, if you’ve ever been tempted by my delicious homemade bagels, you’ll love this equally satisfying alternative! Let’s dive into a recipe that is not only delicious but perfect for those family gatherings or just a cozy winter evening at home.
What is Homemade English Muffins?
So what exactly are these “English muffins”? Well, that’s a great question! While some might think they come from the land of tea and crumpets, these delightful little rounds are actually a marvel of baking. They’re those golden disks everyone loves to toast, ideal for breakfast or brunch, and can also accompany savory dishes. Legend has it that “the way to a man’s heart is through his stomach,” and trust me, these muffins are a surefire way to win over anyone’s taste buds! Why not bring a batch to your next family gathering and see for yourself?
Why You’ll Love This Homemade English Muffins
Homemade English muffins shine as the main star on your breakfast table. Not only are they delicious, but they also provide cost-saving benefits by allowing you to create a delightful meal at home, avoiding the inflated prices of store-bought treats. Toast them to golden perfection, and you’ll discover a subtly crisp exterior contrasted by a soft, chewy inside, perfect for layering on your favorite spreads. Imagine slathering them with rich cream cheese or your go-to jam! If you’ve ever enjoyed a warm scone, you’ll appreciate the similarly comforting experience of homemade English muffins. So why not roll up your sleeves and whip up a batch today?
How to Make Homemade English Muffins
Quick Overview
Creating your own homemade English muffins is an easy and satisfying endeavor. With just a handful of ingredients, you’ll experience the joy of preparing something fresh from scratch. The best part? You can make them in under an hour, including the resting time! You’ll end with perfectly golden muffins, each boasting a delightful texture that’s crispy on the outside and delightfully soft on the inside.
Key Ingredients for Homemade English Muffins
- All-purpose flour: 3 cups (plus extra for dusting)
- Milk: 1 cup (whole milk preferred for richness)
- Water: 1/4 cup (warm)
- Sugar: 2 tablespoons (to activate the yeast)
- Salt: 1 teaspoon
- Baking soda: 1/2 teaspoon
- Instant yeast: 2 teaspoons
- Butter: 2 tablespoons (melted, plus extra for cooking)
Step-by-Step Instructions
- Prepare the Batter: In a small bowl, combine warm water, sugar, and yeast. Let it sit for about 5 to 10 minutes until frothy. In a larger bowl, mix the flour, salt, and baking soda. Create a well in the center and pour in the yeast mixture along with the milk and melted butter.
- Knead the Dough: Mix the ingredients until a dough forms. Transfer to a lightly floured surface and knead for about 8-10 minutes until smooth and elastic.
- First Rise: Place the dough in a greased bowl, cover with a damp cloth, and let it rise in a warm area until doubled in size, approximately 1 hour.
- Shape the Muffins: Punch down the dough and roll it out to about 1/2-inch thickness. Use a round cutter to cut muffins from the dough and place them on a baking sheet dusted with flour.
- Second Rise: Cover the cut muffins gently with a cloth and let them rise for another 30 minutes.
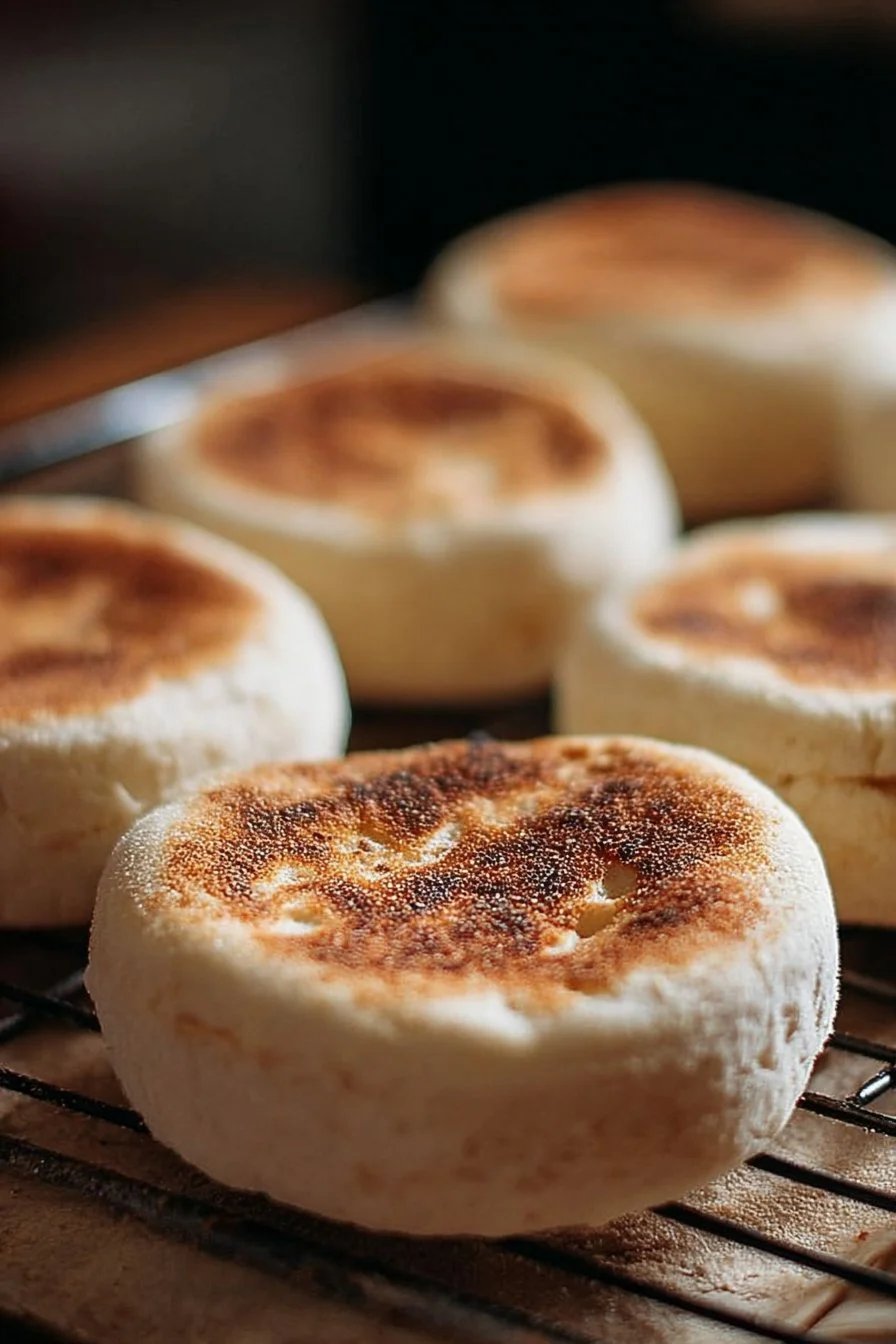
- Cook the Muffins: Preheat a non-stick skillet over low heat. Carefully place the muffins in the skillet, cooking for about 7-10 minutes on each side until golden brown. Be sure to keep the heat low to cook them through without burning the outside.
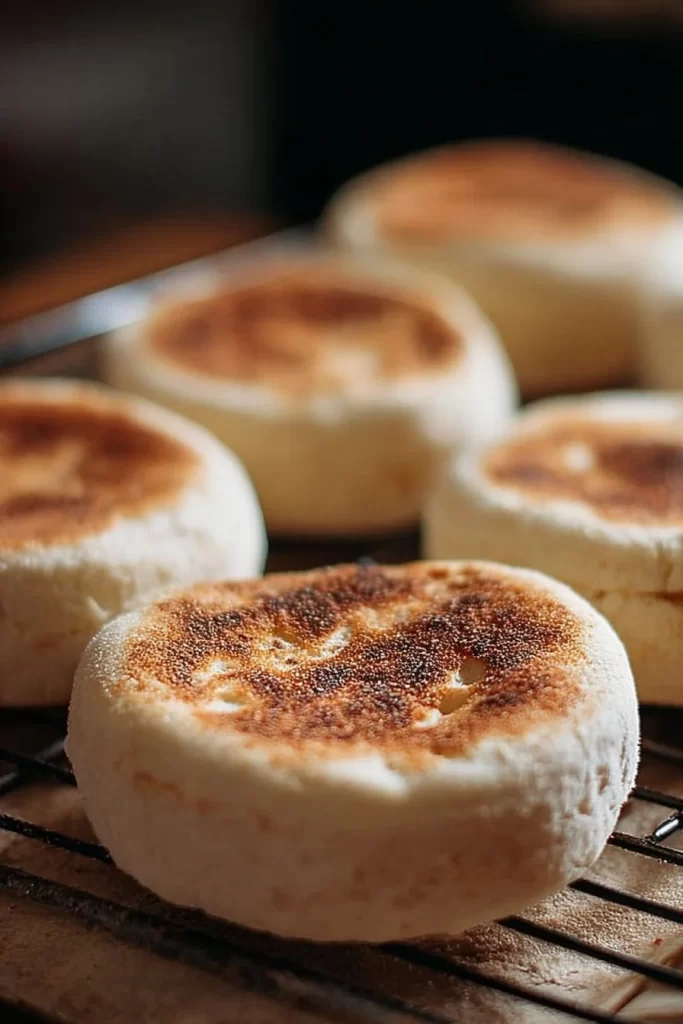
- Cool and Serve: Once cooked, let the muffins cool on a wire rack. Slice them open, toast if desired, and enjoy with your favorite toppings!
Top Tips for Perfecting Homemade English Muffins
- Flour Substitutions: If you prefer whole wheat flour, it can be used in part with all-purpose flour for a healthier twist.
- Don’t Rush the Rises: Giving the dough time to rise will result in a lighter, more fluffy muffin. Choose a warm spot in your kitchen for optimal results!
- Common Mistakes to Avoid: Be careful with the cooking temperature. Too high, and your muffins will burn on the outside while remaining doughy on the inside.
Storing and Reheating Tips
Homemade English muffins are best enjoyed fresh, but they can be stored. Place them in an airtight container and keep them in the refrigerator for up to a week. To freeze, place parchment paper between muffins to prevent sticking, then store in a freezer-safe bag for up to 3 months. Reheat by toasting directly from frozen or placing them in a warm oven until heated through, preserving that original taste and texture.
Now, roll up your sleeves, and gather those ingredients! You’re just moments away from a breakfast experience that’s truly delightful and customizable. Enjoy your homemade English muffins!
Homemade English Muffins
Ingredients
Method
- In a small bowl, combine warm water, sugar, and yeast. Let it sit for about 5 to 10 minutes until frothy.
- In a larger bowl, mix the flour, salt, and baking soda. Create a well in the center and pour in the yeast mixture along with the milk and melted butter.
- Mix the ingredients until a dough forms. Transfer to a lightly floured surface and knead for about 8-10 minutes until smooth and elastic.
- Place the dough in a greased bowl, cover with a damp cloth, and let it rise in a warm area until doubled in size, approximately 1 hour.
- Punch down the dough and roll it out to about 1/2-inch thickness. Use a round cutter to cut muffins from the dough and place them on a baking sheet dusted with flour.
- Cover the cut muffins gently with a cloth and let them rise for another 30 minutes.
- Preheat a non-stick skillet over low heat. Carefully place the muffins in the skillet, cooking for about 7-10 minutes on each side until golden brown.
- Keep the heat low to cook them through without burning the outside.
- Once cooked, let the muffins cool on a wire rack. Slice them open, toast if desired, and enjoy with your favorite toppings!
Leave a Reply