
Are you ready to take your snack game to the next level? Cheesy Taco Sticks are the answer! Imagine biting into a crispy, cheesy stick filled with savory taco goodness. They pop with flavor and crunch in every bite, making them an instant family favorite. Whether you’re cozying up on a winter evening or enjoying a family gathering, these delightful treats are sure to impress.
One fun fact: Did you know that cheese has a special way of bringing people together? It goes without saying that “the way to a man’s heart is through his stomach,” and what better way to win hearts than with cheesy taco goodness? These Cheesy Taco Sticks are comparable to other popular recipes on our blog—like the spicy nacho bites—but they pack a unique twist that keeps everyone coming back for more.
What are Cheesy Taco Sticks?
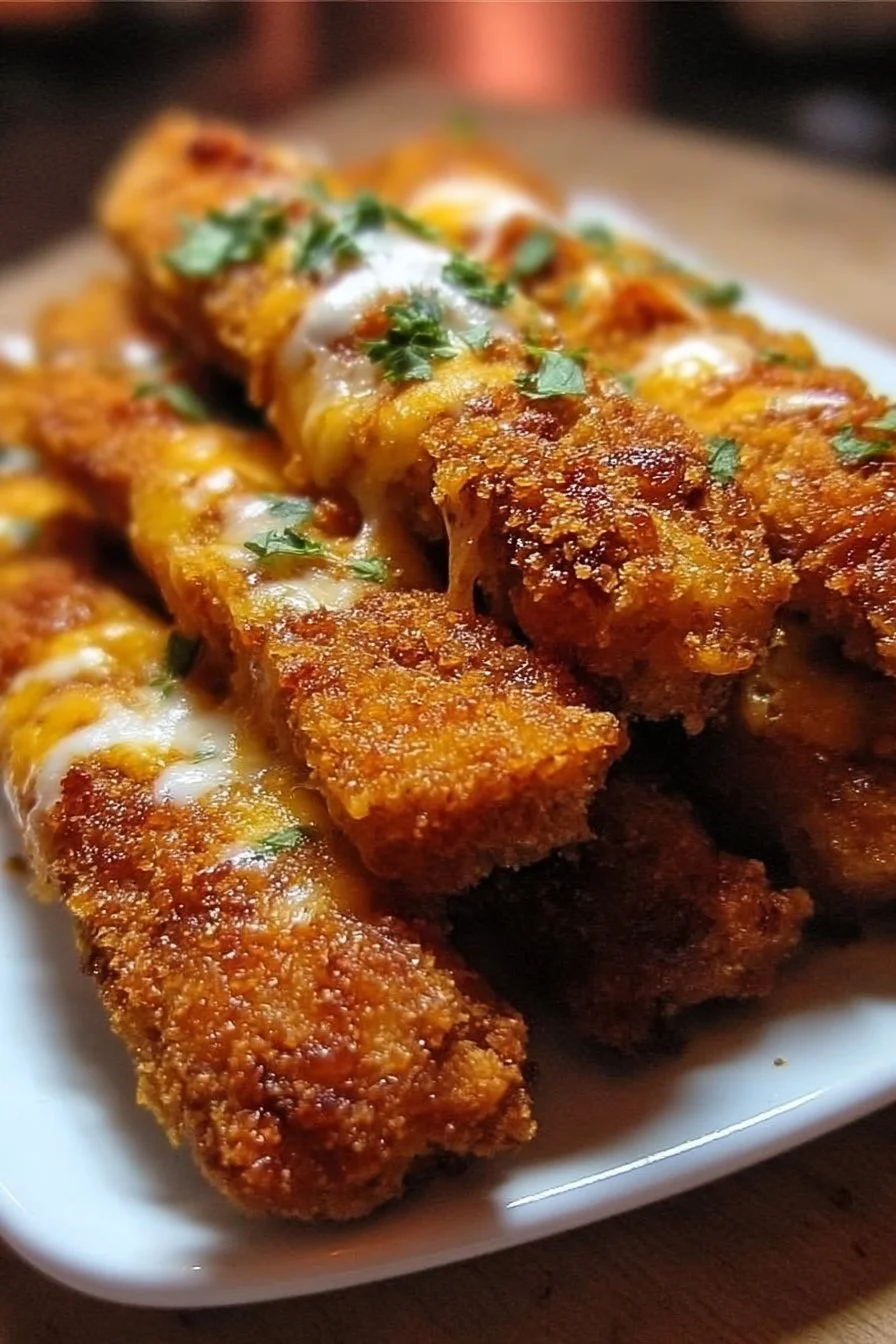
So, what exactly are Cheesy Taco Sticks? Picture this: A crispy exterior loaded with delicious ground meat, melty cheese, and vibrant spices all tucked into a delightful wrap! These cheesy delights not only look incredible but satisfy your cravings like nothing else. But why “Cheesy Taco Sticks”? Well, do you think it has something to do with cheese being the best kind of filler, or is it just that people love cheesy snacks? Either way, these tasty morsels certainly do not disappoint. So why not grab the ingredients and whip up this crowd-pleaser? You’ll be glad you did!
Why You’ll Love This Cheesy Taco Sticks
Let’s dive into why Cheesy Taco Sticks are a must-try! First, they serve as a fantastic main dish, providing heaps of flavors that can outshine even your favorite takeout. Home-cooked meals bring warmth and comfort, all without breaking the bank. It’s much more cost-effective to make these at home than to order out, and they’re even more fun to prepare with family!
Second, you can customize the toppings to your heart’s content—think fresh salsa, guacamole, or even a dollop of sour cream. Aren’t these elements what make a meal truly unforgettable? These Cheesy Taco Sticks appeal to everyone, much like a savory quesadilla but with a crispy twist! Ready to take the plunge? Let’s get cooking!
How to Make Cheesy Taco Sticks
Quick Overview
Making Cheesy Taco Sticks is as easy as pie! With a preparation time of just 20 minutes, you can get these tasty bites on the table in no time. The combination of crispy tortillas and creamy cheese creates an irresistible texture that will keep everyone coming back for more. Whether you’re an experienced cook or just starting, this recipe is sure to be a hit.
Key Ingredients for Cheesy Taco Sticks
Here’s what you’ll need to whip up these delectable Cheesy Taco Sticks. Make sure to have these ingredients ready to go:
- 1 lb ground beef or turkey
- 1 packet taco seasoning
- 1 cup shredded cheddar cheese
- 1 cup shredded mozzarella cheese
- 6 flour tortillas
- Cooking oil spray
- Optional toppings: salsa, guacamole, sour cream, diced tomatoes, or jalapeños
Step-by-Step Instructions
Follow these simple steps to create your very own Cheesy Taco Sticks that will wow your family and friends:
- Cook the Meat: In a skillet over medium heat, add the ground beef or turkey. Cook until browned, breaking it apart with a spatula as it cooks (about 8-10 minutes). Drain any excess fat.
- Add Seasoning: Stir in the taco seasoning with a splash of water. Cook for an additional 2-3 minutes until the spices meld into the meat. Remove from heat and let it cool for a moment.
- Prepare the Tortillas: Lay out your flour tortillas on a flat surface. Sprinkle a generous amount of shredded cheddar and mozzarella cheese down the center of each tortilla.
- Fill with Meat: Spoon some of the seasoned meat on top of the cheese.
- Roll Them Up: Carefully roll each tortilla tightly, just like a burrito.
- Cook the Sticks: Preheat your oven to 400°F (200°C). Place the rolled-up sticks seam-side down on a baking sheet lined with parchment paper. Lightly spray them with cooking oil to achieve that golden, crispy finish.
- Bake: Bake for about 15-20 minutes until they’re golden brown and crispy.
- Serve: Allow them to cool for a couple of minutes, then slice them into pieces. Serve with your favorite toppings.
Top Tips for Perfecting Cheesy Taco Sticks
- Substitutions: If you’re looking for Halal-friendly alternatives, try using ground chicken or plant-based meat. They both work beautifully in this recipe.
- Timing: Keep an eye on them while baking. Ovens can vary, so start checking for that golden color around 15 minutes.
- Common Mistakes: Be careful not to overfill your tortillas; you want them to roll up neatly without spilling the delicious filling out.
Storing and Reheating Tips
Got leftovers? No problem! You can store Cheesy Taco Sticks in an airtight container in the refrigerator for up to 3 days. To retain their crispy texture, reheat them in the oven at 350°F (175°C) for about 10 minutes. If you want to enjoy them later, you can freeze the uncooked rolls before baking. Just follow the steps up until baking, and they’ll keep well for up to two months!
Ready to bring this tasty recipe into your kitchen? With Cheesy Taco Sticks being easy to make and packed with flavor, you and your family are in for a treat. So gather your ingredients and let the fun begin!
Cheesy Taco Sticks
Ingredients
Method
- In a skillet over medium heat, add the ground beef or turkey. Cook until browned, breaking it apart with a spatula as it cooks (about 8-10 minutes). Drain any excess fat.
- Stir in the taco seasoning with a splash of water. Cook for an additional 2-3 minutes until the spices meld into the meat. Remove from heat and let it cool for a moment.
- Lay out your flour tortillas on a flat surface. Sprinkle a generous amount of shredded cheddar and mozzarella cheese down the center of each tortilla.
- Spoon some of the seasoned meat on top of the cheese.
- Carefully roll each tortilla tightly, just like a burrito.
- Preheat your oven to 400°F (200°C). Place the rolled-up sticks seam-side down on a baking sheet lined with parchment paper. Lightly spray them with cooking oil to achieve that golden, crispy finish.
- Bake for about 15-20 minutes until they’re golden brown and crispy.
- Allow them to cool for a couple of minutes, then slice them into pieces. Serve with your favorite toppings.
Leave a Reply