
What is Hawaiian Butter Mochi?
So, what’s in a name? Hawaiian Butter Mochi sounds fancy, right? Well, it’s just as delicious as it sounds! This dessert combines the soft, chewy goodness of mochi with the rich, buttery taste that leaves you wanting more. Why is it called “butter mochi,” you ask? Imagine a tasty, sweet treat that combines the best of chewy and buttery worlds—now that’s a name worth savoring! They say the way to a man’s heart is through his stomach; perhaps the same could be said about this delightful dessert! If you are intrigued and ready to take your taste buds on a island getaway, this is surely one recipe you won’t want to miss!
Why You’ll Love Hawaiian Butter Mochi
Hawaiian Butter Mochi is like a little slice of paradise, and there are three key reasons you are going to love it! First and foremost, its main highlight is its irresistible texture. The combination of sweet rice flour and coconut milk creates a uniquely chewy dessert that is simply out of this world. Next, let’s talk about cost-saving benefits—by making it at home, you can whip up a batch for much less than the price you’d pay at a bakery. Lastly, let’s not forget those flavorful ingredients! From creamy coconut to the buttery richness, each bite is a flavor explosion that elevates this dessert to a class of its own. If you think about it, it’s like Hawaiian Butter Mochi has its own tropical flair, much like a classic coconut cake, but with a chewy twist that’s impossible to resist. So why not grab your mixing bowl and embark on this sweet baking adventure?
How to Make Hawaiian Butter Mochi
Quick Overview
Making Hawaiian Butter Mochi is not only delicious but also remarkably simple, taking only about an hour from start to finish. With a few straightforward steps and easy-to-find ingredients, you’ll have a wonderful treat to share (or keep all to yourself!) with loved ones. This sweet dish has a rich, buttery flavor and a satisfying chewy texture that makes dessert time feel like a mini celebration.
Key Ingredients for Hawaiian Butter Mochi
- 2 cups sweet rice flour (also known as mochiko)
- 1 1/2 cups sugar
- 1 teaspoon baking powder
- 1/2 cup butter (melted)
- 1 can (13.5 oz) coconut milk
- 1 cup milk
- 4 large eggs
- 1 teaspoon vanilla extract
- Optional: shredded coconut for topping
Step-by-Step Instructions:
- Preheat your oven to 350°F (175°C). Grease a 9×13 inch baking pan to prevent sticking.
- In a large mixing bowl, whisk together the sweet rice flour, sugar, and baking powder until well combined.
- In another bowl, combine the melted butter, coconut milk, milk, eggs, and vanilla extract. Whisk until smooth.
- Gradually pour the wet mixture into the dry ingredients, stirring constantly until the batter is smooth and free of lumps.
- Pour the batter into the greased baking pan, smoothing the top with a spatula.
- Bake for 50-60 minutes, or until the edges are lightly golden brown and a toothpick inserted in the center comes out clean.
- Once done, allow it to cool in the pan for about 10 minutes before transferring it to a wire rack to cool completely.
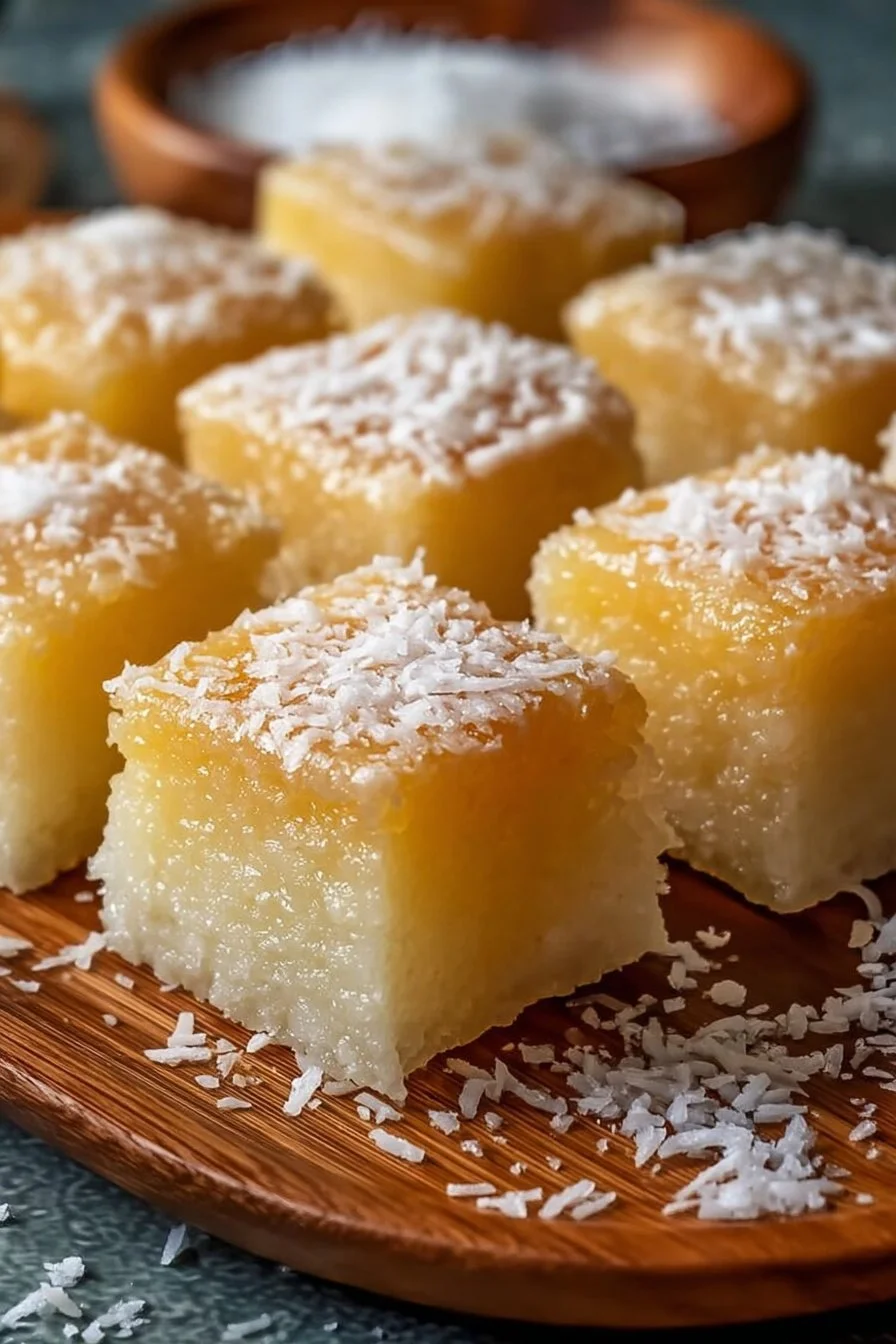
- Cut into squares and sprinkle shredded coconut on top if desired. Enjoy this chewy, buttery treat!
What to Serve Hawaiian Butter Mochi With
Pair your Hawaiian Butter Mochi with a refreshing scoop of vanilla ice cream or a tropical fruit salad to enhance the flavors. These delicious combinations create a delightful balance of textures, making it a perfect dessert for summer gatherings or family dinners. You could also serve it alongside a strong cup of coffee or refreshing iced tea for a cozy afternoon snack.
Top Tips for Perfecting Hawaiian Butter Mochi
- Ingredient Substitutions: If you can’t find sweet rice flour, try substituting with regular rice flour, but note that the texture will differ slightly. Using low-fat milk can save some calories, but the texture will be less rich.
- Timing Adjustments: Keep an eye on the baking time; ovens can vary, so checking a bit early can prevent over-baking.
- Common Mistakes to Avoid: Make sure to whisk the batter until smooth to avoid lumps in your mochi.
Storing and Reheating Tips
To store leftover Hawaiian Butter Mochi, place it in an airtight container at room temperature for up to 3 days. You can also refrigerate it for up to a week. For longer storage, freeze cut pieces wrapped in plastic wrap and place in a freezer-safe bag, where they can last for up to 2 months. To reheat, pop it in the microwave for a few seconds to restore some of that delightful chewiness.
Now that you know all about Hawaiian Butter Mochi, it’s time to bring this sweet treat into your kitchen. Enjoy the process, share it with loved ones, and let the deliciousness take you to tropical shores with every bite!

Hawaiian Butter Mochi
Ingredients
Method
- Preheat your oven to 350°F (175°C). Grease a 9x13 inch baking pan to prevent sticking.
- In a large mixing bowl, whisk together the sweet rice flour, sugar, and baking powder until well combined.
- In another bowl, combine the melted butter, coconut milk, milk, eggs, and vanilla extract. Whisk until smooth.
- Gradually pour the wet mixture into the dry ingredients, stirring constantly until the batter is smooth and free of lumps.
- Pour the batter into the greased baking pan, smoothing the top with a spatula.
- Bake for 50-60 minutes, or until the edges are lightly golden brown and a toothpick inserted in the center comes out clean.
- Once done, allow it to cool in the pan for about 10 minutes before transferring it to a wire rack to cool completely.
- Cut into squares and sprinkle shredded coconut on top if desired. Enjoy this chewy, buttery treat!
Leave a Reply