
What is Strawberry Icebox Pie?
Strawberry Icebox Pie – what a whimsical name, isn’t it? Have you ever wondered why it’s called an “icebox” pie? Well, back in the day, before the advent of modern refrigerators, homes used ice blocks to cool their perishables. This delightful dessert was often stored in those iceboxes to keep it fresh and cool. It’s a charming throwback to simpler times and reminds us that “the way to a man’s heart is through his stomach.” You simply can’t go wrong with this creamy, fruity delight! So why not join the ranks of those before you? Give this recipe a whirl, and grace your dining table with this irresistible treat!
Why You’ll Love This Strawberry Icebox Pie
There are numerous reasons why this Strawberry Icebox Pie deserves a spot on your dessert table. First and foremost, the star of this dish is undoubtedly the strawberries! Plump and juicy, they offer a burst of flavor that harmonizes beautifully with the creamy filling. Making this pie at home is not only budget-friendly, but you also get to bask in the satisfaction of creating something delicious from scratch.
The best part? You can customize your pie with various toppings, from whipped cream to a sprinkle of toasted nuts. Whether you’re enjoying it on a hot day or serving it for a casual family gathering, this dessert promises not to disappoint. If you’re yet to try other fruity favorites like Blueberry Cheesecake, consider browsing through our blog for even more delightful recipes! Let’s dive into this one—you’ll be glad you did!
How to Make Strawberry Icebox Pie
Quick Overview
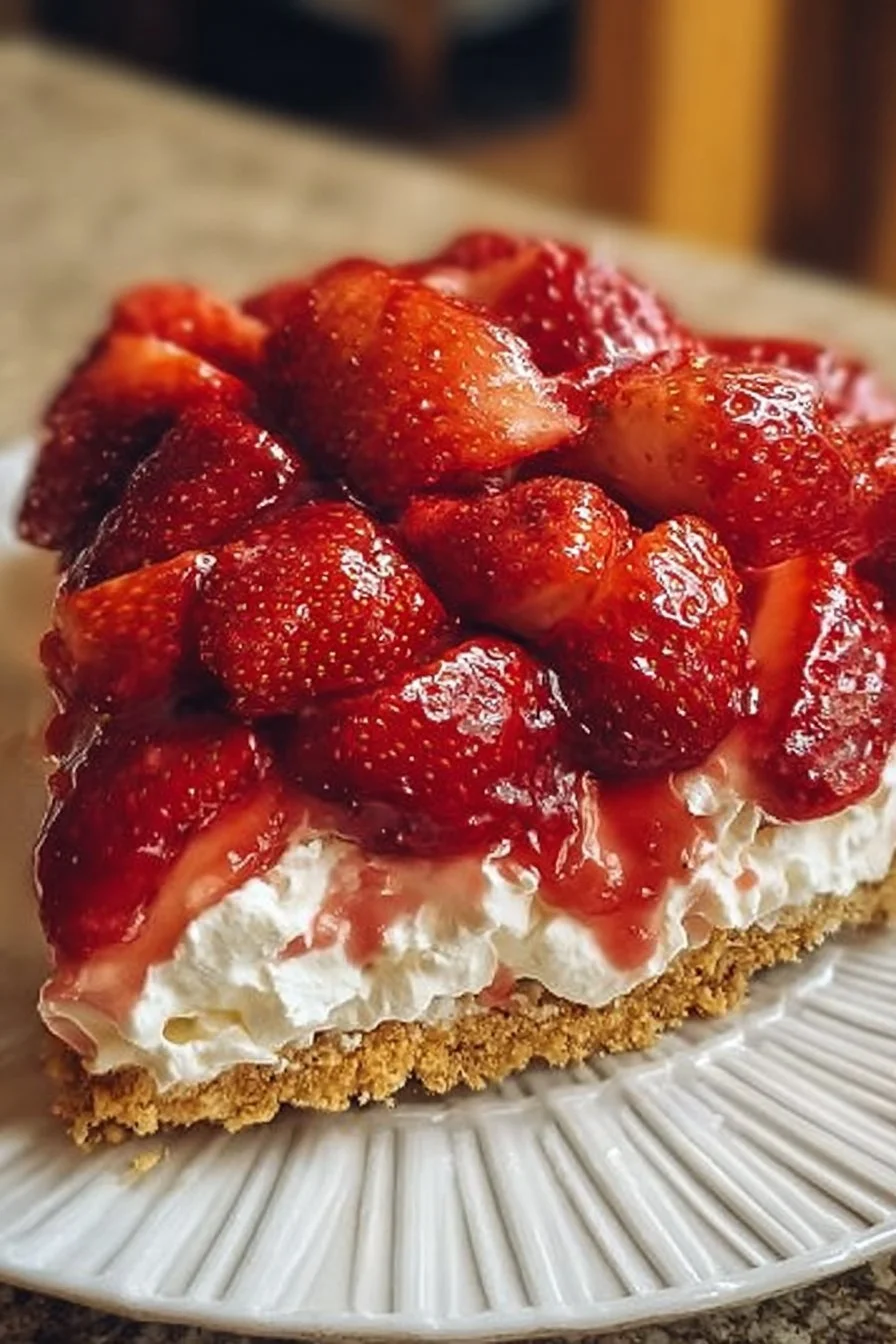
This Strawberry Icebox Pie is the epitome of easy, delicious, and satisfying! With a refreshing blend of strawberries and a creamy filling all resting on a homemade graham cracker crust, this dessert is irresistibly mouthwatering. Plus, it’s no-bake, meaning it’s perfect for hot days when you want something sweet without heating up the kitchen. You can have it prepped and chilling in the refrigerator in just under an hour, leaving you with plenty of time to enjoy the sunshine!
Key Ingredients for Strawberry Icebox Pie
- Graham cracker crumbs: 1 ½ cups
- Granulated sugar: ⅓ cup (divided)
- Unsalted butter: ½ cup (melted)
- Cream cheese: 8 oz (softened)
- Condensed milk: 1 can (14 oz)
- Fresh strawberries: 2 cups (sliced)
- Lemon juice: 2 tablespoons
- Whipped cream: for topping (optional)
Step-by-Step Instructions
- Prepare the crust: In a mixing bowl, combine graham cracker crumbs and 2 tablespoons of sugar. Mix well, then add the melted butter. Stir until fully combined and the mixture resembles wet sand.
- Form the crust: Press the crumb mixture firmly into the bottom and up the sides of a 9-inch pie plate to form a crust. Use the back of a spoon or your fingers to ensure it is evenly spread and compact.
- Make the filling: In a large bowl, beat the softened cream cheese until smooth. Gradually add the condensed milk, mixing until combined. Incorporate the remaining sugar and the lemon juice, mixing until everything is well blended.
- Add strawberries: Fold in the sliced strawberries gently, making sure they’re evenly distributed throughout the filling.
- Combine and chill: Pour the strawberry filling into the prepared crust. Smooth the top with a spatula and place it in the refrigerator for at least 4 hours, or until the filling is set.
- Serve: Once chilled and firm, slice your pie and top with whipped cream if desired. Enjoy!
What to Serve Strawberry Icebox Pie With
Strawberry Icebox Pie is delightful on its own, but there are a few accompaniments that can enhance the experience even further! Pair it with a light salad drizzled with a citrus vinaigrette to balance the sweetness of the pie. Additionally, iced tea or lemonade brings a refreshing touch to the meal and can keep everyone cool on warm days. If you’re a fan of snacks, consider serving it with a side of fresh fruit or a cheese platter to elevate your dessert experience.
Top Tips for Perfecting Strawberry Icebox Pie
- Use ripe strawberries: For the best flavor, choose strawberries that are fully ripe. They should be bright red and fragrant.
- Mixing techniques: Make sure to beat the cream cheese well to avoid lumps in your filling. A smooth filling is key to a successful pie!
- Chill time: Allowing the pie to chill overnight enhances the flavors and sets the filling perfectly.
- Customization: Feel free to substitute other fruits such as blueberries or raspberries for a different fruity twist.
- Graham cracker crust alternative: If you’re looking for a gluten-free option, use gluten-free graham cracker crumbs or even crushed nuts for a unique take on the crust.
Storing and Reheating Tips
To store your tasty Strawberry Icebox Pie, simply cover it with plastic wrap or aluminum foil and keep it in the refrigerator. It will stay fresh for up to 3 days. Since it’s a creamy dessert, it’s best to serve it cold, so there’s no need to reheat! If you happen to have leftovers, you can savor them over the next couple of days, enjoying every bite of this delightful treat.
Now that you’ve got everything you need, it’s time to make your own Strawberry Icebox Pie! This simple yet delicious recipe will not only impress your family and friends but also become a go-to dessert in your home. Happy baking!

Strawberry Icebox Pie
Ingredients
Method
- In a mixing bowl, combine graham cracker crumbs and 2 tablespoons of sugar. Mix well, then add the melted butter. Stir until fully combined and the mixture resembles wet sand.
- Press the crumb mixture firmly into the bottom and up the sides of a 9-inch pie plate to form a crust. Use the back of a spoon or your fingers to ensure it is evenly spread and compact.
- In a large bowl, beat the softened cream cheese until smooth. Gradually add the condensed milk, mixing until combined.
- Incorporate the remaining sugar and the lemon juice, mixing until everything is well blended.
- Fold in the sliced strawberries gently, making sure they’re evenly distributed throughout the filling.
- Pour the strawberry filling into the prepared crust. Smooth the top with a spatula and place it in the refrigerator for at least 4 hours, or until the filling is set.
- Once chilled and firm, slice your pie and top with whipped cream if desired. Enjoy!
Leave a Reply