
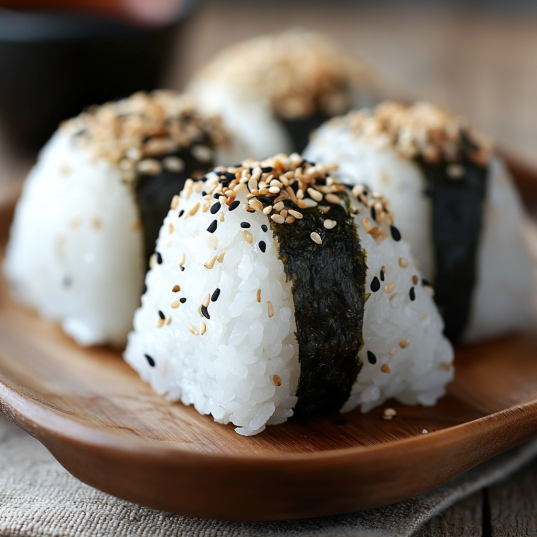
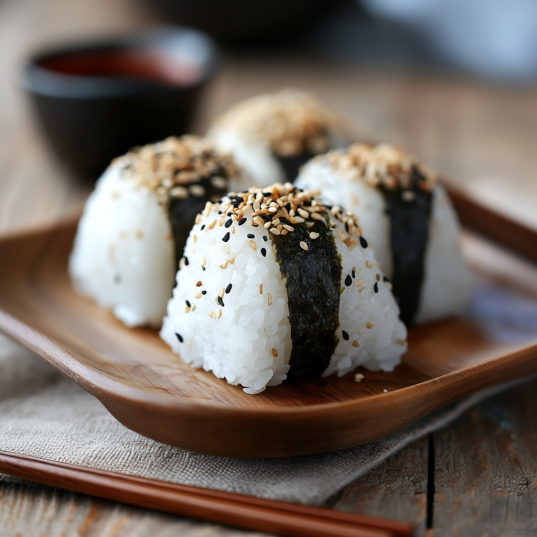
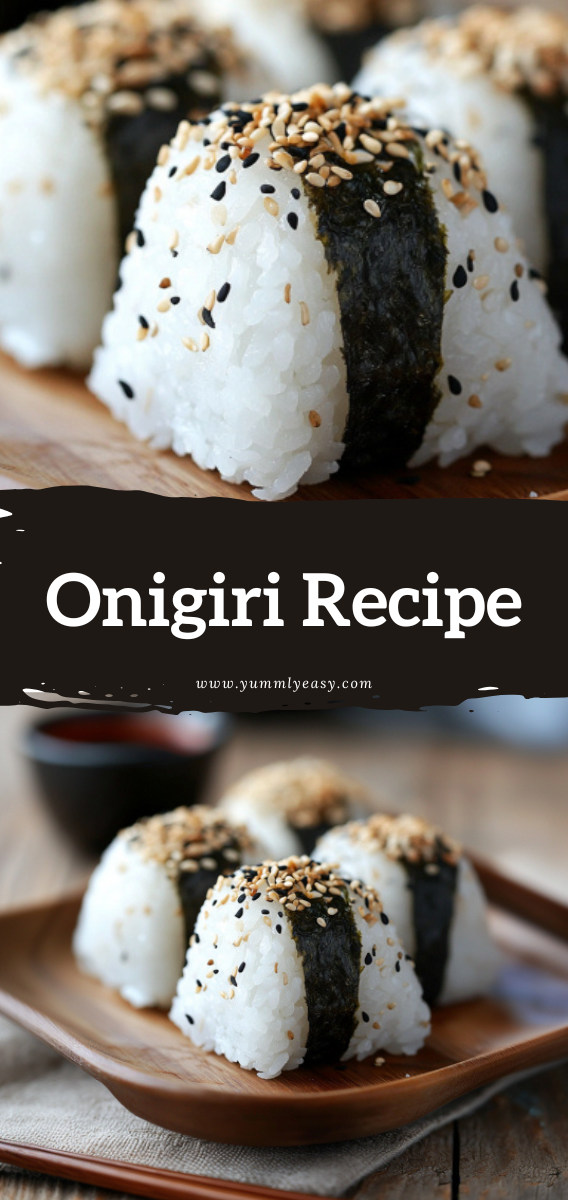
Onigiri, or Japanese rice balls, are a staple in Japanese cuisine. These handheld delights are made from seasoned rice, often stuffed with savory fillings, and wrapped in nori (seaweed). They are versatile, portable, and perfect for any occasion. Whether you’re new to Japanese cooking or looking to elevate your onigiri game, this recipe will guide you through the basics.
Ingredients
For the rice:
- 2 cups Japanese short-grain rice
- 2½ cups water
- ½ tsp salt
For the fillings (optional):
- ½ cup flaked salmon (cooked or grilled)
- ¼ cup pickled plum (umeboshi)
- ½ cup tuna salad (mixed with Japanese mayonnaise)
- ¼ cup seasoned kelp (kombu)
For assembly:
- Nori sheets, cut into strips
- Additional salt for shaping
Equipment
- Rice cooker or pot with a lid
- Mixing bowl
- Small bowl of water for shaping
- Clean kitchen towel or plastic wrap
Instructions
Rinse the rice thoroughly under cold water until the water runs clear. Combine the rice and water in a rice cooker or pot and cook according to the rice cooker’s instructions, or bring to a boil and simmer covered for 15 minutes. Let it rest for 10 minutes.
Transfer the cooked rice to a mixing bowl and gently fluff with a rice paddle. Mix in ½ tsp salt while the rice is still warm. Allow the rice to cool slightly until it’s easy to handle.
Prepare a small bowl of water and a pinch of salt for shaping. Wet your hands with water, sprinkle them with a bit of salt, and scoop about ½ cup of rice into your palm.
Flatten the rice slightly and add a small amount of filling to the center. Fold the rice around the filling and shape it into a triangle, ball, or cylinder. Press gently but firmly to ensure the rice holds its shape.
Wrap a strip of nori around the base or sides of the rice ball for easy handling. Repeat with the remaining rice and fillings.
Serve immediately, or wrap tightly in plastic wrap to keep fresh.
Tips
- Rice type: Use Japanese short-grain rice for the right texture and stickiness.
- Wet hands: Always wet your hands to prevent the rice from sticking while shaping.
- Storage: Onigiri is best eaten fresh but can be stored in the fridge for up to a day. Reheat slightly before eating to restore the rice’s softness.
- Customization: Experiment with fillings like teriyaki chicken, shrimp tempura, or even avocado for a modern twist.
Onigiri is a delightful and customizable snack that showcases the beauty of simple ingredients. Whether you prefer traditional fillings or modern flavors, these rice balls are easy to make and full of flavor. Perfect for meal prepping, picnics, or quick snacks, onigiri is a must-try Japanese dish that brings comfort and convenience to your table. Enjoy!
Classic Onigiri Recipe
Ingredients
Equipment
Method
- Rinse the rice thoroughly under cold water until the water runs clear. Combine the rice and water in a rice cooker or pot and cook according to the rice cooker's instructions, or bring to a boil and simmer covered for 15 minutes. Let it rest for 10 minutes.
- Transfer the cooked rice to a mixing bowl and gently fluff with a rice paddle. Mix in ½ tsp salt while the rice is still warm. Allow the rice to cool slightly until it’s easy to handle.
- Prepare a small bowl of water and a pinch of salt for shaping. Wet your hands with water, sprinkle them with a bit of salt, and scoop about ½ cup of rice into your palm.
- Flatten the rice slightly and add a small amount of filling to the center. Fold the rice around the filling and shape it into a triangle, ball, or cylinder. Press gently but firmly to ensure the rice holds its shape.
- Wrap a strip of nori around the base or sides of the rice ball for easy handling. Repeat with the remaining rice and fillings.
- Serve immediately, or wrap tightly in plastic wrap to keep fresh.
Leave a Reply