
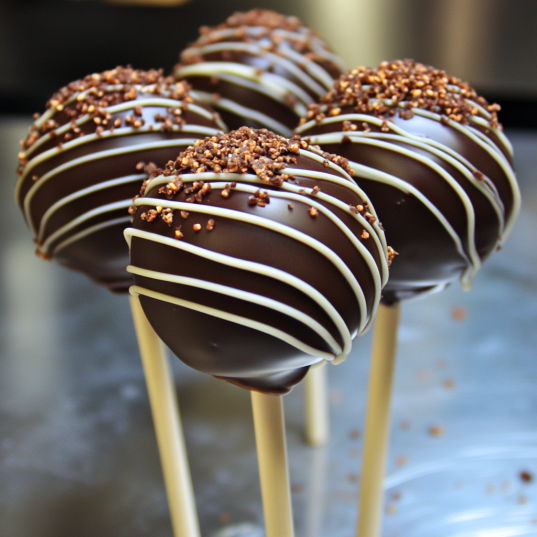
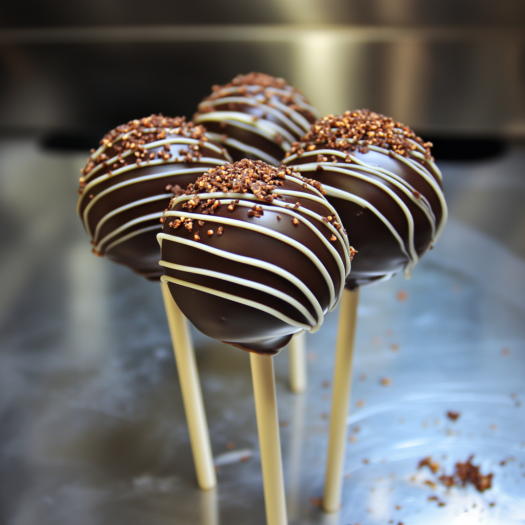
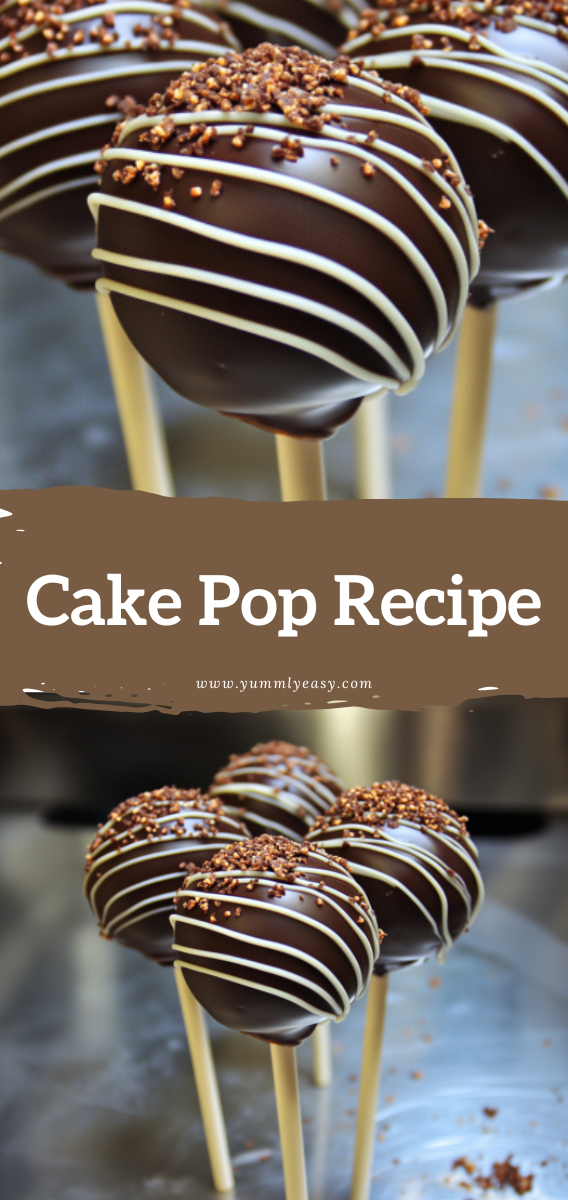
Cake pops are bite-sized balls of cake on a stick, coated with a sweet candy shell. They’re fun, versatile, and perfect for any celebration! Whether you prefer chocolate, vanilla, or a mix of flavors, this recipe will guide you step-by-step to create beautifully decorated treats that everyone will love.
Ingredients
For the Cake Pops:
- 1 baked 9-inch cake (any flavor, cooled)
- 1/2 cup frosting (store-bought or homemade)
For the Coating:
- 12 oz candy melts or chocolate chips (any color or flavor)
- Sprinkles, crushed nuts, or other toppings (optional)
Equipment:
- Mixing bowl
- Baking sheet
- Parchment paper
- Lollipop sticks
- Microwave-safe bowl
- Styrofoam block or cake pop stand
Instructions
1. Crumble the cake:
Break the cooled cake into fine crumbs using your hands or a food processor. Transfer the crumbs to a large mixing bowl.
2. Mix in the frosting:
Add frosting, a little at a time, and mix with your hands until the mixture holds together like dough. You may not need all the frosting.
3. Shape into balls:
Roll the mixture into 1-inch balls and place them on a baking sheet lined with parchment paper. Chill in the refrigerator for 1–2 hours or in the freezer for 15–20 minutes until firm.
4. Melt the candy coating:
Melt the candy melts or chocolate in a microwave-safe bowl in 30-second intervals, stirring each time, until smooth.
5. Attach the sticks:
Dip the tip of each lollipop stick into the melted candy and insert it halfway into a cake ball. This helps secure the stick to the cake. Chill again for 10 minutes to set.
6. Coat the cake pops:
Dip each cake pop into the melted candy coating, turning to coat completely. Let the excess drip off gently.
7. Decorate and dry:
Immediately add sprinkles, nuts, or other decorations before the coating sets. Place the cake pops upright into a Styrofoam block or cake pop stand to dry completely.
8. Serve and enjoy:
Once set, your cake pops are ready to serve. Store in an airtight container at room temperature for up to 3 days or in the fridge for up to a week.
Tips
- Use the right consistency: If the coating is too thick, add a small amount of vegetable oil or shortening to thin it out.
- Get creative: Try using different cake flavors, frostings, and coatings for unique combinations.
- Make ahead: Prepare the cake balls in advance and freeze them. Dip and decorate when ready to serve.
Cake pops are a delightful treat that’s as fun to make as they are to eat. With endless flavor and decoration options, they’re perfect for any occasion. Get creative, have fun, and enjoy these sweet little bites on a stick!
Cake Pop Recipe
Ingredients
Method
- Crumble the cake:
- Break the cooled cake into fine crumbs using your hands or a food processor. Transfer the crumbs to a large mixing bowl.
- Mix in the frosting:
- Add frosting, a little at a time, and mix with your hands until the mixture holds together like dough. You may not need all the frosting.
- Shape into balls:
- Roll the mixture into 1-inch balls and place them on a baking sheet lined with parchment paper. Chill in the refrigerator for 1–2 hours or in the freezer for 15–20 minutes until firm.
- Melt the candy coating:
- Melt the candy melts or chocolate in a microwave-safe bowl in 30-second intervals, stirring each time, until smooth.
- Attach the sticks:
- Dip the tip of each lollipop stick into the melted candy and insert it halfway into a cake ball. This helps secure the stick to the cake. Chill again for 10 minutes to set.
- Coat the cake pops:
- Dip each cake pop into the melted candy coating, turning to coat completely. Let the excess drip off gently.
- Decorate and dry:
- Immediately add sprinkles, nuts, or other decorations before the coating sets. Place the cake pops upright into a Styrofoam block or cake pop stand to dry completely.
- Serve and enjoy:
- Once set, your cake pops are ready to serve. Store in an airtight container at room temperature for up to 3 days or in the fridge for up to a week.
Leave a Reply