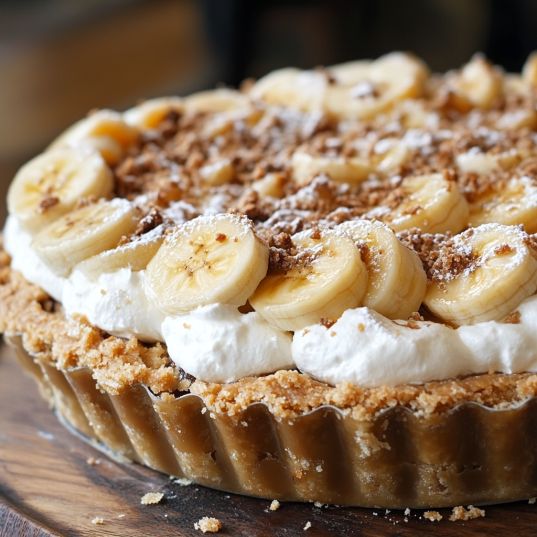
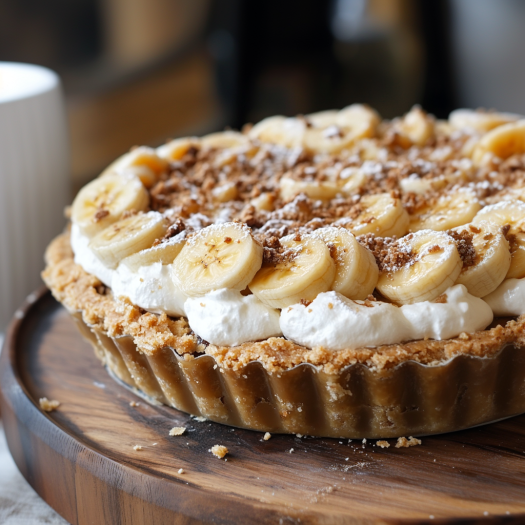
Banoffee Pie is a classic British dessert that combines the best of sweet and creamy flavors. With a buttery biscuit crust, gooey toffee, fresh bananas, and fluffy whipped cream, this pie is the ultimate crowd-pleaser. Perfect for celebrations or a treat-yourself moment, it’s easy to make and even easier to devour!

Equipment:
- 9-inch pie dish
- Food processor or rolling pin (for crushing biscuits)
- Saucepan
- Whisk
- Mixing bowls
- Spatula
Ingredients:
For the Crust:
- 1 1/2 cups digestive biscuits or graham crackers, crushed
- 6 tablespoons unsalted butter, melted
For the Toffee Filling:
- 1 can (14 oz) sweetened condensed milk
- 1/2 cup unsalted butter
- 1/2 cup light brown sugar
For the Topping:
- 3-4 ripe bananas, sliced
- 1 cup heavy whipping cream
- 2 tablespoons powdered sugar
- 1 teaspoon vanilla extract
- Grated chocolate or cocoa powder for garnish

Instructions:
- Make the Crust:
- Combine the crushed biscuits and melted butter in a bowl. Press the mixture evenly into the base and sides of a 9-inch pie dish. Chill in the refrigerator for at least 15 minutes to set.
- Prepare the Toffee Filling:
- In a saucepan, melt the butter and sugar over medium heat, stirring until dissolved. Add the sweetened condensed milk and bring to a gentle boil, stirring constantly. Cook for about 5 minutes until thickened and golden. Pour the toffee over the chilled crust and spread evenly. Chill for 1-2 hours until firm.
- Assemble the Pie:
- Once the toffee is set, layer the banana slices over the toffee filling.
- Whip the Cream:
- In a mixing bowl, whisk the heavy cream, powdered sugar, and vanilla extract until soft peaks form. Spread the whipped cream over the banana layer.
- Garnish and Serve:
- Sprinkle grated chocolate or sift cocoa powder over the whipped cream for a decorative finish. Slice and serve chilled.
Presentation Ideas:
- Serve in individual jars for a fun twist.
- Garnish with caramel drizzle or additional banana slices for extra flair.
Tips:
- Use ripe but firm bananas to avoid mushiness.
- To save time, use store-bought dulce de leche instead of making toffee.
- Keep the pie refrigerated and consume within 2 days for optimal freshness.
 Banoffee Pie is a dessert that never fails to impress. With its perfect balance of flavors and textures, it’s a treat that will have everyone asking for seconds. Try this easy recipe and enjoy a slice of indulgence today!

Banoffee Pie Recipe
Indulge in the rich and creamy flavors of Banoffee Pie! A luscious dessert with layers of bananas, toffee, and whipped cream on a biscuit crust.
Ingredients
Equipment
Method
- Make the Crust:
- Combine the crushed biscuits and melted butter in a bowl. Press the mixture evenly into the base and sides of a 9-inch pie dish. Chill in the refrigerator for at least 15 minutes to set.
- Prepare the Toffee Filling:
- In a saucepan, melt the butter and sugar over medium heat, stirring until dissolved. Add the sweetened condensed milk and bring to a gentle boil, stirring constantly. Cook for about 5 minutes until thickened and golden. Pour the toffee over the chilled crust and spread evenly. Chill for 1-2 hours until firm.
- Assemble the Pie:
- Once the toffee is set, layer the banana slices over the toffee filling.
- Whip the Cream:
- In a mixing bowl, whisk the heavy cream, powdered sugar, and vanilla extract until soft peaks form. Spread the whipped cream over the banana layer.
- Garnish and Serve:
- Sprinkle grated chocolate or sift cocoa powder over the whipped cream for a decorative finish. Slice and serve chilled.

Leave a Reply